To avoid this, what you can do to stop your phone from overheating?
1. Keep it out of the sun.
2. Take off the case and keep your phone out of the pocket.
3. Avoid power-intensive apps. (Like GPS or Bluetooth)
4. Do not fast charge or wireless charge your phone.
If you want to cool the phone down, remember, to avoid water and the freezer. Phones don’t like rapid temperature changes and you may end up causing extra damage to your phone in the process.
But the fan is fine. It works more moderately compared to the freezer which is safer for the device itself. Or you could buy a phone cooler attached to the back.
1. Accidentally deletion or loss from the USB device.
2. The device got damaged or broken, or corrupted.
3. Virus attacks and infected USB drives caused data loss.
4. Accidentally formatting USB when it occurs a format error.
5. Can't access your data files on a USB flash drive.
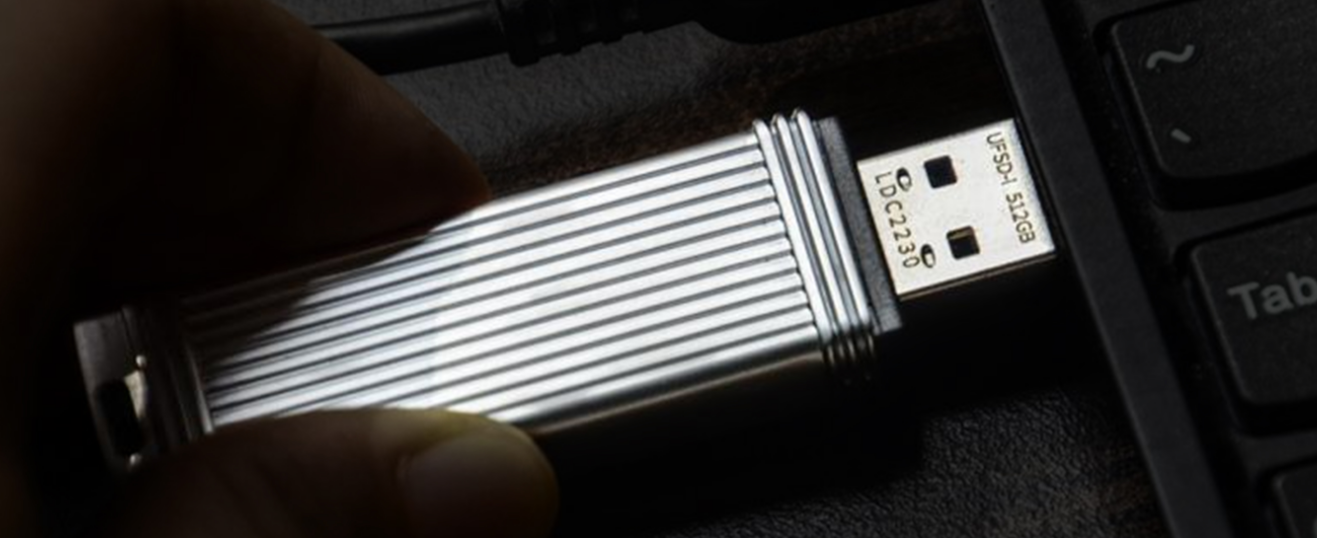
6. Improperly ejecting or removing the USB flash drive.
7. Removing the flash drive while the data was still transferring.
There are three ways to recover deleted files:
1. Retrieve from Windows Backups,
If you have turned on the Windows backup on your computer, it is proficient to find the data back.
From the control panel go to the system maintenance. Select the "Backup and restore option". A restore option will be displayed at the bottom of the window.
Click on the Restore my files which shows that you can restore your files that were backed up on the current location.
Browse for the file that was backed up previously. Click on the Browse for file option.
Select the location at which you want to save the backup. Select the most suitable option to copy the data.
Wait till the process is completed. Look at the location that you have selected to copy the data. All your files that were permanently removed will be recovered at the mentioned location.
2. Use CMD to restore lost files.
Connect the USB device to the computer – Press the Window key and R simultaneously to bring up the Run window – Type cmd and press enter to access Command Prompt Window.
Type in ‘chkdsk H: /f’ without the double inverted commas and press Enter - Replace "H" with the drive letter of the USB drive – Press Y and Enter key – enter the drive letter and press Enter – Type in ‘D:\>attrib –h –r –s /s /d *.*’ and press Enter - Replace "D" with the drive letter of the USB drive.
3. Restore a Previous Version Feature(Windows 7, 8, 10)
Right-click on the folder from which the files were deleted. – Click on Restore Previous Versions. – Select and click on a date that is before deletion took place – Click Restore.
1. Low space memory on your computer system. Free up space and try again.
2. Too many applications running in the background of your computer system. Close down some try again,
3. Small storage space left on the USB. Wait for it to load and then manage the files to another storage device to clear space.
4. Virus and malware presence on USB or computer system. Scan the USB to uncover and fix the USB.
5. If the USB is corrupt or simply refuses to load, format the USB and recover data using file recovery software.
6. Open the window mobility access tab, click on USB driver, and then select ‘Update Driver’.
7. Clear out junk files on hard drives which may corrupt the system files.
8. Overheating influences the USB transfer speed negatively. Pick an aluminum case as it has a better heat dissipation effect.
9. Transferring multiple files at once or large files will slow the speed. Try to zip all files into one single big unit.
You may keep asking these questions:’ Do I really need to safely eject the USB drive? What are the consequences if I fail to do so?’
The answer is yes. It is not safe to remove Flash Drive or USB drive without rejecting it.
There are various reasons for you to opt for safe USB ejection rather than abruptly removing it from the System.
1. Abrupt unplugging of USB drive can damage the circuits of your USB Drive and as well as the USB ports of your System. Thus, causing your USB Drive and USB ports of your system to malfunction.
2. Unsafe removal of USB drive in between editing or data transfer can corrupt your data on the USB Drive.
3. Brutally disconnecting the flash drive during data transfer might wipe out the entire data stored on USB Drive.
There are two simple methods to safely remove the flash drive from computer:
1. Remove via Task Bar
Back to the home screen of the computer – Find the USB-looking icon on the taskbar on the right-hand side – Right-click the icon and select ‘Eject Mass Storage’ – Wait until the dialog box pops up ‘You can now remove your USB Device’.
2. Use ‘This PC’ Window
Go to ‘This PC’ folder – Find the USB drive you want to eject under the ‘Devices and Drives’ section -Right-click the USB drive and select ‘Eject’.
1. Check your cable.
It is common for the charging cable to be broken or frayed after long use. It’s better that you need to discard it and buy a new one instead. But if the charging cable is in good condition, try the original cable.
2. Try a different power adapter or wall power socket.
Switch the power adapter or wall power socket to check whether they are functioning well.
3. Clean the charging port.
The dust or gunk may be accumulated inside the charging port, preventing the charging cable from properly connecting. Clean the charging port and insert the cable and plug it into a wall power socket.
4. Be patient when charging
Your phone is probably out of juice, in which case, be patient for a few minutes. If you are using iPhone, Apple suggests you let the device charge for 30 minutes.
5. Safe charging temperature range
Grab your phone and feel it. Too cold or too hot could lead to charging failure. Above 32 degrees Fahrenheit or fall below 95 degrees Fahrenheit is the most commonly recognized safe temperature.
6. Try a wireless charger
There may be a problem with a port connection inside your phone. Try a wireless charger so that you rule that out.
7. Force-restart your phone
Maybe there are some software malfunctions stopping the phone from starting, try to restart your phone by pressing the volume up button and power button simultaneously until the phone starts. The force-restart method is different, you may search on the website to find the right way.
NAND flash memory is a type of non-volatile storage that is widely used in consumer electronics devices including USB flash drives, smartphones, tablets and laptops. Basically, there are two types of flash memory – NOR type flash memory and NAND Type flash memory.
A Flash memory is made up of FGMOS or FGMOSFETs (Floating Gate Metal Oxide Field Effect Transistors). Each FGMOS is an electronic component that can store either 0 or 1. This is why these transistors are called cells.
In NAND flash memory, cells are arranged in series which means the memory can only be accessed serially.
Features of NAND Flash Memory
1. Non-Volatile Memory
Non-volatile meaning the storage devices with NAND flash memory retain the data without using a battery or any voltage source. The memory can store data for a long period of time without damaging it.
2. Reprogrammable
The NAND flash memory is that you can program them according to your need. The programmable IC chip contains any kind of data, from documents to videos, that you may use them whenever you need them.
3. Fast Write and Erase Time
Writing data is faster in NAND flash memory cause the memory used in applications where permanent writing is preferred rather than retrieving the data. Another unique feature is the it takes less time to delete data.
4. More Storage
NAND flash memory can be arranged in high density. You can even buy a 2TB storage device from the market.
5. Low Manufacturing Cost
The NAND flash memory is amazingly low. More manufactures are now are building NAND memory devices with different sizes, features, and designs to fulfill the user’s needs.
1. Back Up Your Files.
Documents, photos, videos and other files saved on the computer must be backed up first. If you are using the cloud-based file syncing service, all you need to do is to memorize the account info.
2. Transfer Software.
If you bought licensed software, you surely want them to be activated on the new computer. Applications, such as Photoshop, support the deactivation feature through which you’re able to transfer the license onto a different PC. If you are not sure about the deactivation function available, contact the vendor to acquire the operation instruction.
3. Wipe Your Hard Drive.
After you back up the necessary files, you need to wipe the drive. You can reset and reinstall the operating system to factory conditions to remove all the data. If you are worried about this will not wipe out the data completely, third-party tools are your better choice:
Disk Wipe: https://www.diskwipe.org/
Active KillDisk: http://killdisk.com/killdisk-freeware.htm
AOMEI Partition Assistant: https://www.diskpart.com/free-partition-manager.html
4. Destroy Your Drive
After you are running out of the software options and still feel insecure, you can destroy the drive physically or remove the SSD out to use as an external drive by using a SATA-to-USB adapter, dock, or enclosure.
5. Recycle the Computer
The PC is not allowed to throw away like other usual trash, the electronic parts inside need to be discarded properly. Big box stores like Best Buy and Staples have recycling drop-off points for various types of electronics. Apple and Amazon will also accept their own products back. Moreover, you can contact the town’s district office for e-waste recycling information.
1. SATA/mSATA Speed
The two interfaces have the same speed because the same SATA bus has three versions - SATA 1(1.5Gbps), SATA 2(3Gbps), and SATA 3(6Gbps).
2. PCI-E Speed.
PCI-E interface is based on PCI-E Bus and has different versions and lanes. Generally, PCIe SSDs use PCIe3.0X4 and support NVMe protocol.
3. M.2 SSD
M.2 interface can be divided into two types: B-key and M-key.
l B-key may use the SATA bus or PCI-E 3.0X2 bus, and therefore it may support AHCI protocol or NVMe protocol.
l M-key only supports PCI-E 3.0X4 bus and NVMe protocol.
Their speeds are determined by the bus they use.
4. U.2 Speed
The U.2 interface is based on the PCI-E bus and uses the PCI-E 3.0X4 bus and NVMe protocol.
Your machine won't boot; you get the “No bootable device” or “No bootable medium” error message (on Windows), or a flashing question mark (on Mac devices)
It runs excessively slow.
Active applications often freeze or crash.
Frequent Blue/Black Screen of Death errors.
Capacity Limitations
In most external hard drives, the inbuilt controllers restrict the size of the connected memory to about 4T to 8T.
Price Vs. Quality
Looking at past HDD enclosure reviews would be appropriate other than speculating by price comparison and personal judgment.
Mobility
it is imperative to consider how easy to handle and carry around it is. The size and shape of your hard drive cover will guide you on how easy it is to arrange and organize your HDDs; especially if you have several external hard drives.
Cooling
Choosing an enclosure with a premounted fan would be ideal. Other storage drives will only require heat sinks. Therefore, ensure that you consider your heat transfer requirements vis-à-vis the noise dissipation by your devices.
1. Move the SSD to a spot with better air circulation, and stay away from the motherboard and other warm components.
2. Buy a better heat dissipation performance SSD enclosure such as one made of metal or designed with thermal pads or fin.
3. If it is the SSD inside your laptop, there is not much you can do. You may contact the manufacturer to ask for suggestions.
Note: Please back up data first in case data loss happens.
1. Check your external hard drive is powered up.
Not all hard drive is powered by the single USB port, some may require an external power source such as AC supply or a secondary USB port.
Check your hard drive to see whether it has more than one USB port and connect it to an AC power supply or a USB cable to the port.
2. Try a different USB port or computer.
Firstly, plugging your hard drive into a different USB port on your computer and if you are connecting your drive through a USB hub, making sure your hub doesn’t need extra power resource. If the above fails, try a different computer, sometimes the different computer systems make significant difference on compatibilities.
3. Check the hard drive is enabled and allocated.
If the hard drive is connected and powered properly, you may need to manually enable it in computer settings.
Start Menu -Typing ‘Disk Management’ – Click ’Create and format hard disk partitions’ – Find your disk on the list of available drives with the ‘offline’ mark underneath it – right click your drive – click ‘’Online.
If this not working, right-click your drive – click’ Change Drive Letter and Paths’.
If you find the word ’Unallocated’ underneath the drive name it means you need to reset it and delete content. Right-click on the drive's name - click ‘New Simple Volume’.
4. Drivers need to be upgraded.
Open the ‘Start menu’ – typing and click "device manager" – scroll down to find your drive in the list. If there is an exclamation point that appears next to your drive, then you need to update the driver.
Right-click on your drive -click ‘Properties’ - click ‘Driver’ - ‘Update driver’ - click ‘Search automatically for drivers’ to search online for a new driver.