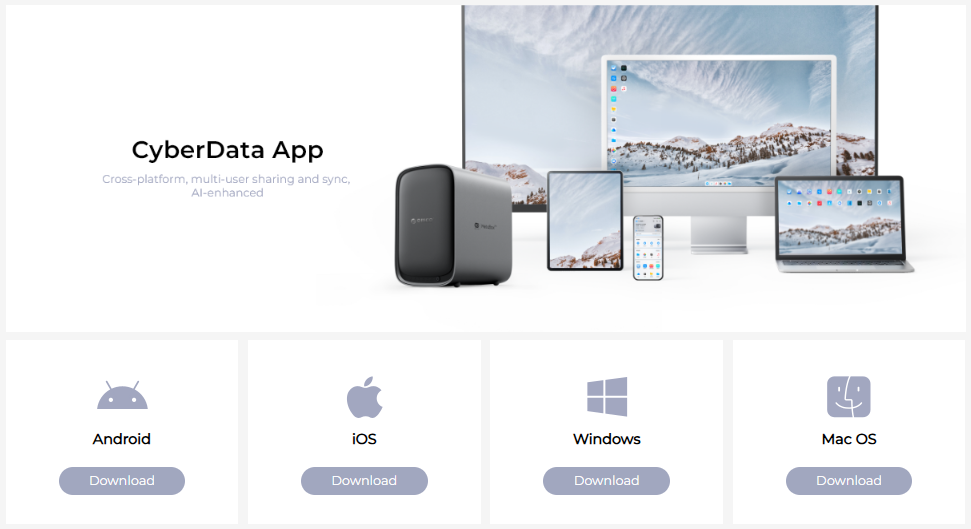
Please visit the ORICO download center: https://orico.cc/index/topic/nas/download.html, or find "CyberData" on your App store to download the app.
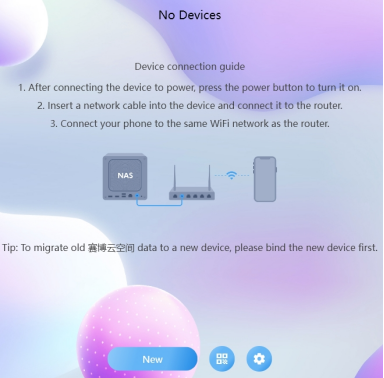
· Run the CyberData PC client, it will display "You have not bound any devices", click "New".
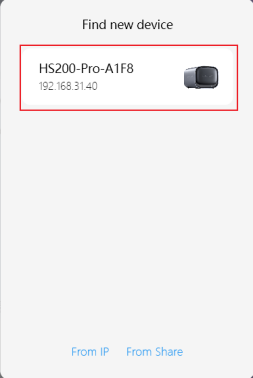
· The client will scan the local area network (LAN) to discover NAS devices.
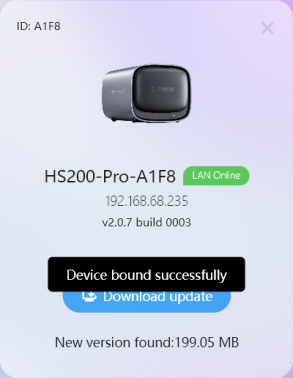
· Click on the discovered NAS device, and it will prompt "Device Bound Successfully".
Note: To discover the NAS device, please ensure that the your computer and NAS device are on the same local area network (LAN) .
When using the client for the first time, you must first bind your device before you can register an account.
(1) User Account Registration
After completing device binding, return to the client login page and click "Register" to begin the account registration process.
(2) Secure Your Email Info
Enter your username and password, then secure a email address for verification. This will allow you to retrieve or reset your password if you forget it.
After successful verification, click "Register". A notification will pop up once registration is completed.
(3) Account Login
After completing account registration, you will automatically return to the client login page. Enter your username and password, then click "Login" to access your account.

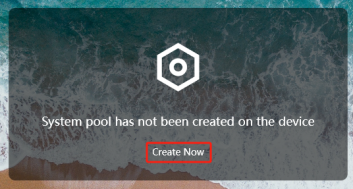
· After logging in, you will be prompted to create a storage pool. Click "Create Now".
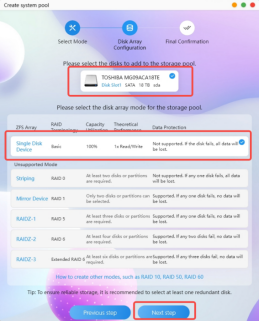
· By default, select the simple mode, then click "Next Step".
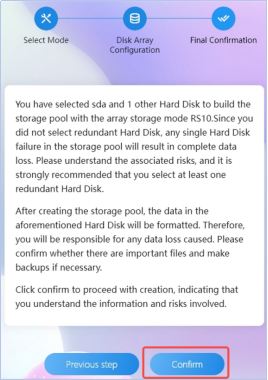
· Select the hard drives and disk array to join the storage pool, then click "Next Step".

· After confirming the options are correct, click "Confirm".
· Enter the password, then click "Confirm".
· After the storage pool is successfully created, then click "confirm".