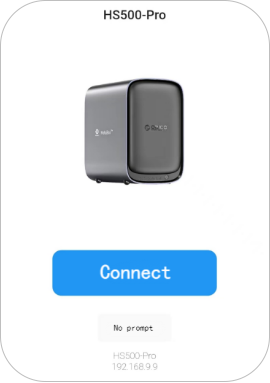
· Connect your NAS device and your computer or phone to the same local area network. Install and run the CyberData App on your computer or mobile phone, click "New" on the startup page. Then the NAS devices linked in local area network will be found out and recognized automatically. Select it to complete the binding successfully.


1. Checking IP via Router
Firstly, you can check your NAS's IP address on the router for your current network environment (home, office). Generally, smart routers have companion apps that display the IP addresses assigned to devices on the current LAN.
Here aome steps:
① Connect your phone to the router's WiFi.
② Search and download the official app for your router from your app store. Usually, the router's brand or model has a specific app. You can find a QR code for this app on the product packaging or manual for easy download.
③ Install and open the app, then log in to your router account as prompted.
④ On the app's main interface or device list, view the devices currently connected to the router's WiFi. Information such as device name, MAC address, or IP address is typically displayed.
Alternatively, you can check via the router's web management page:
Open a browser, enter the router's management address in the address bar (e.g., 192.168.0.1 or 192.168.1.1, which can be found on the label on the back of the router). Enter the router's username and password.
Within the router's settings interface, look for options like "Device Management" or "DHCP Client List." This will display all devices currently connected to the LAN along with their IP addresses, MAC addresses, and device names.
2. Using Network Scanning Tools (*when the NAS cannot be found via computer search)
If the computer and NAS are on different network segments of the same broadband connection, there are generally two scenarios:
① The NAS is on the primary router (e.g., connected to the optical modem), while the computer is on a secondary router (e.g., a router connected to the optical modem).
② They are on different, but mutually accessible, segments of peer-level routers.
How to solve:
① On your computer, press Win+R to open "Run", type cmd to open the Command Prompt, and enter the command ipconfig to check the network segment your computer is on.
② If they are on different segments, you can use software like Advanced IP Scanner to search for IP address information within your network. HS200-Pro & HS500-Pro motherboards are manufactured by "Shenzhen IP3...". You can filter by this or look for the hostname to identify your NAS. Then, enter the IP address to connect.

Mobile App Authorizes PC Client to Bind Device
1. Generate Authorization QR Code
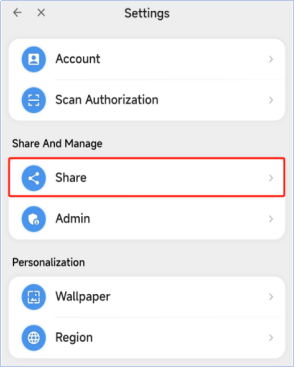
Run the CyberData App on your computer. Go to the startup page and click the QR code icon to automatically generate an authorization QR code. Or go to Settings → Share → QR code generated.

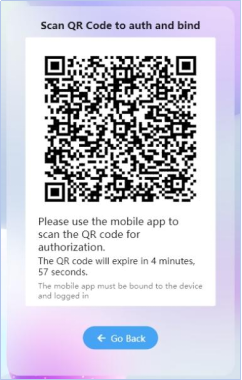
2. Authorize and Bind Device
Open the mobile app and go to the homepage. Tap the "+" icon in the top right corner, then tap "Authorize and Bind Device" to scan the QR code.After a successful scan, confirm the authorization information and tap "Confirm Authorization" to complete the device binding.


1. Open the CyberData App homepage, find “Quick Access, enter “Settings”, click "Share" to generate an invitation code and public network import address. Share the invitation code or public network import address with your friends.
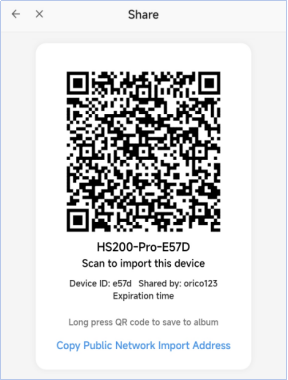
2. Your friends also need to download and install the CyberData App. Click "Scan Invitation Code", and after scanning, a pop-up will prompt the discovery of the device. Click "Connect" to complete the device binding.