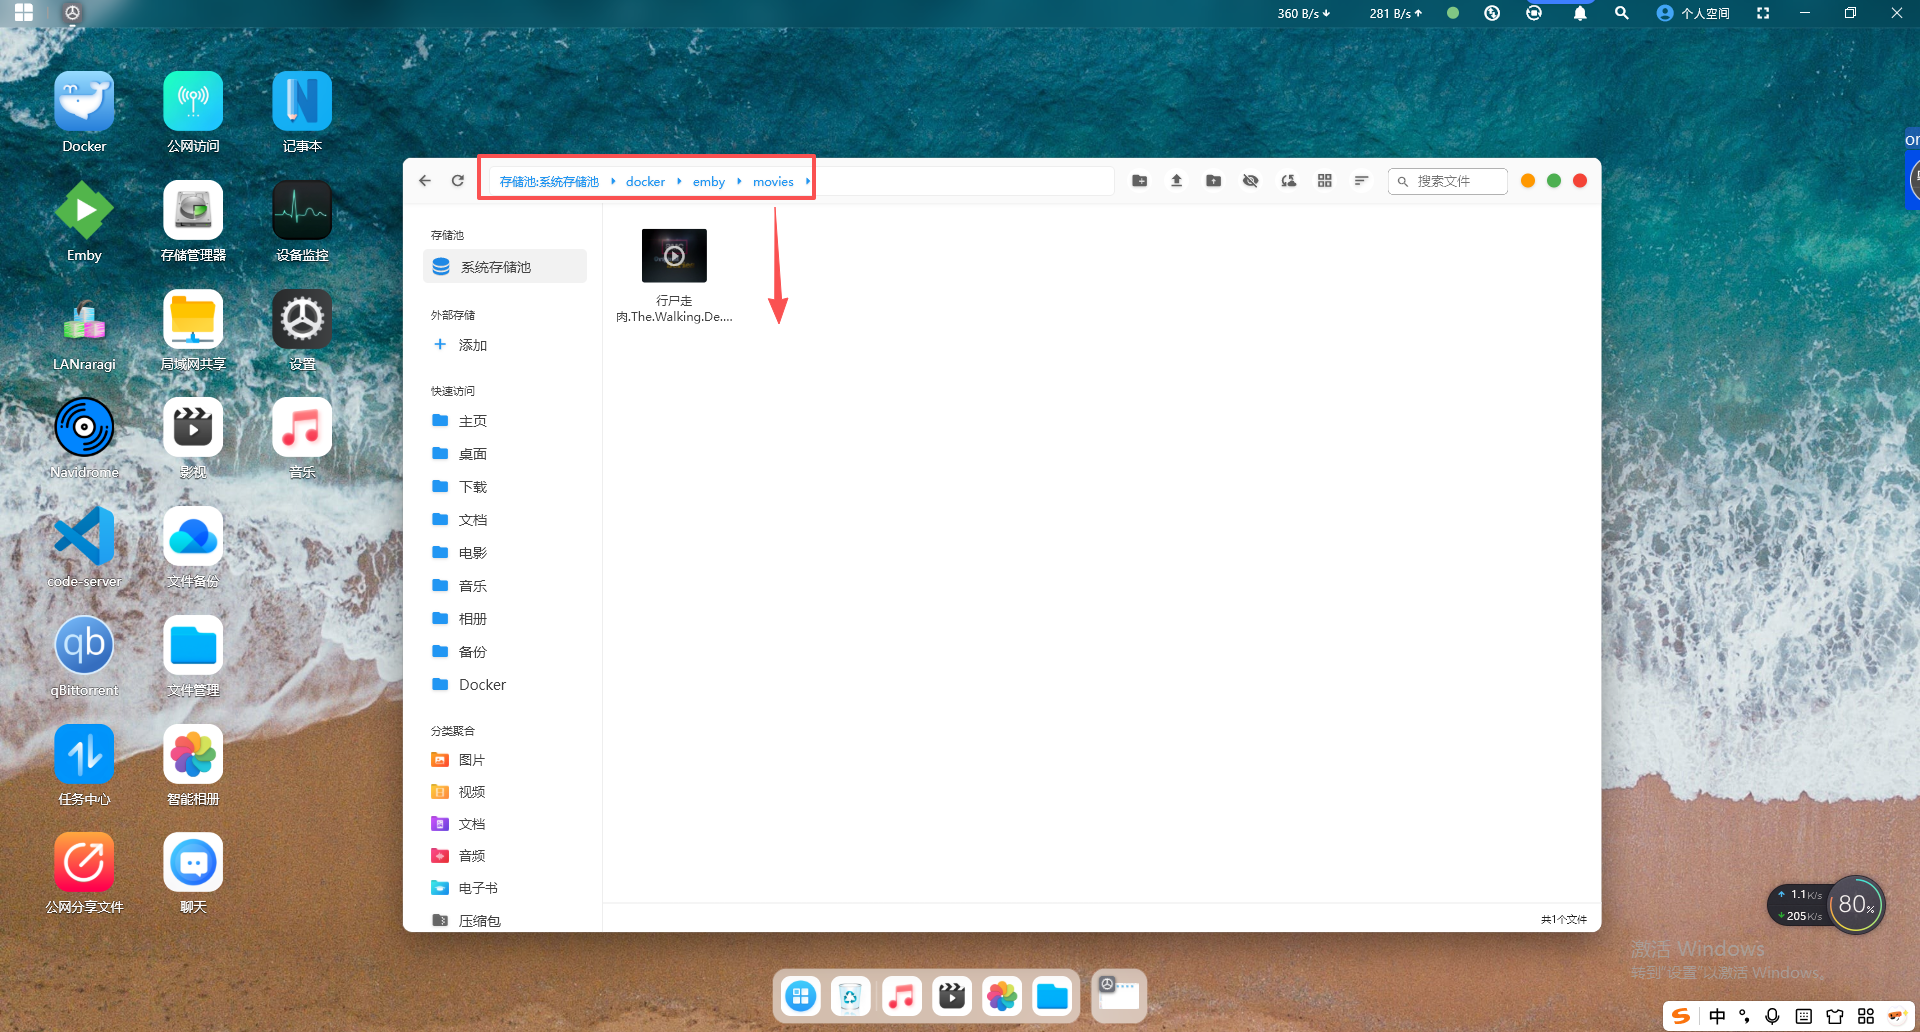


Emby organizes videos, music, live TV, and photos from your personal media library and streams them to smart TVs, streaming devices, and mobile devices. This container is packaged as a standalone Emby media server.
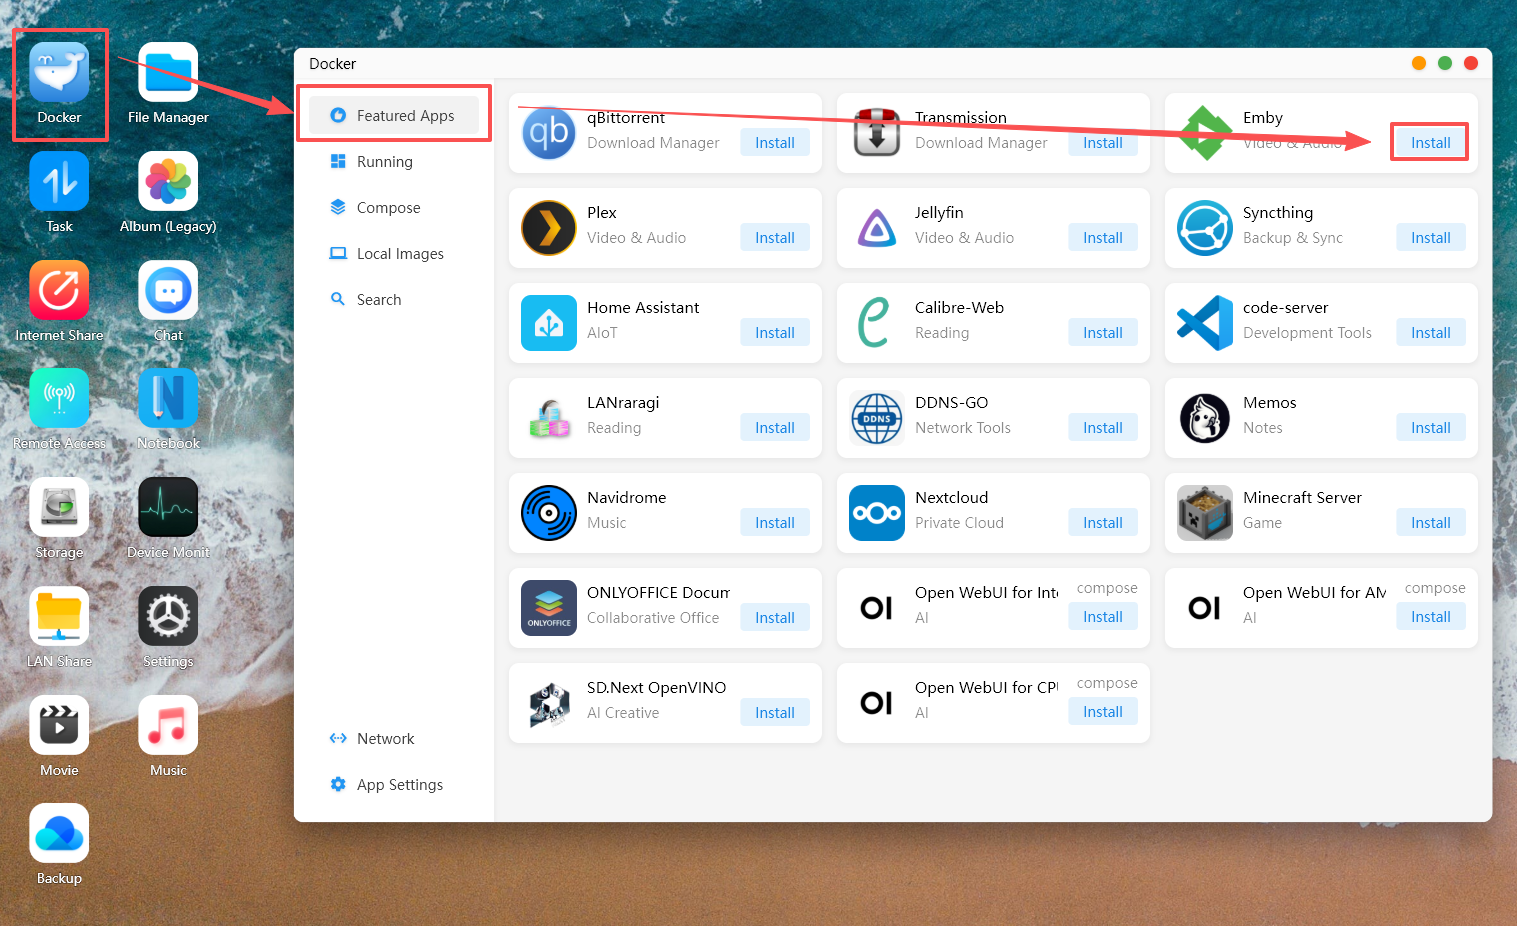
2.After the image is successfully downloaded, you can see that the Emby image is running in the "Running" section. Click to open Emby.
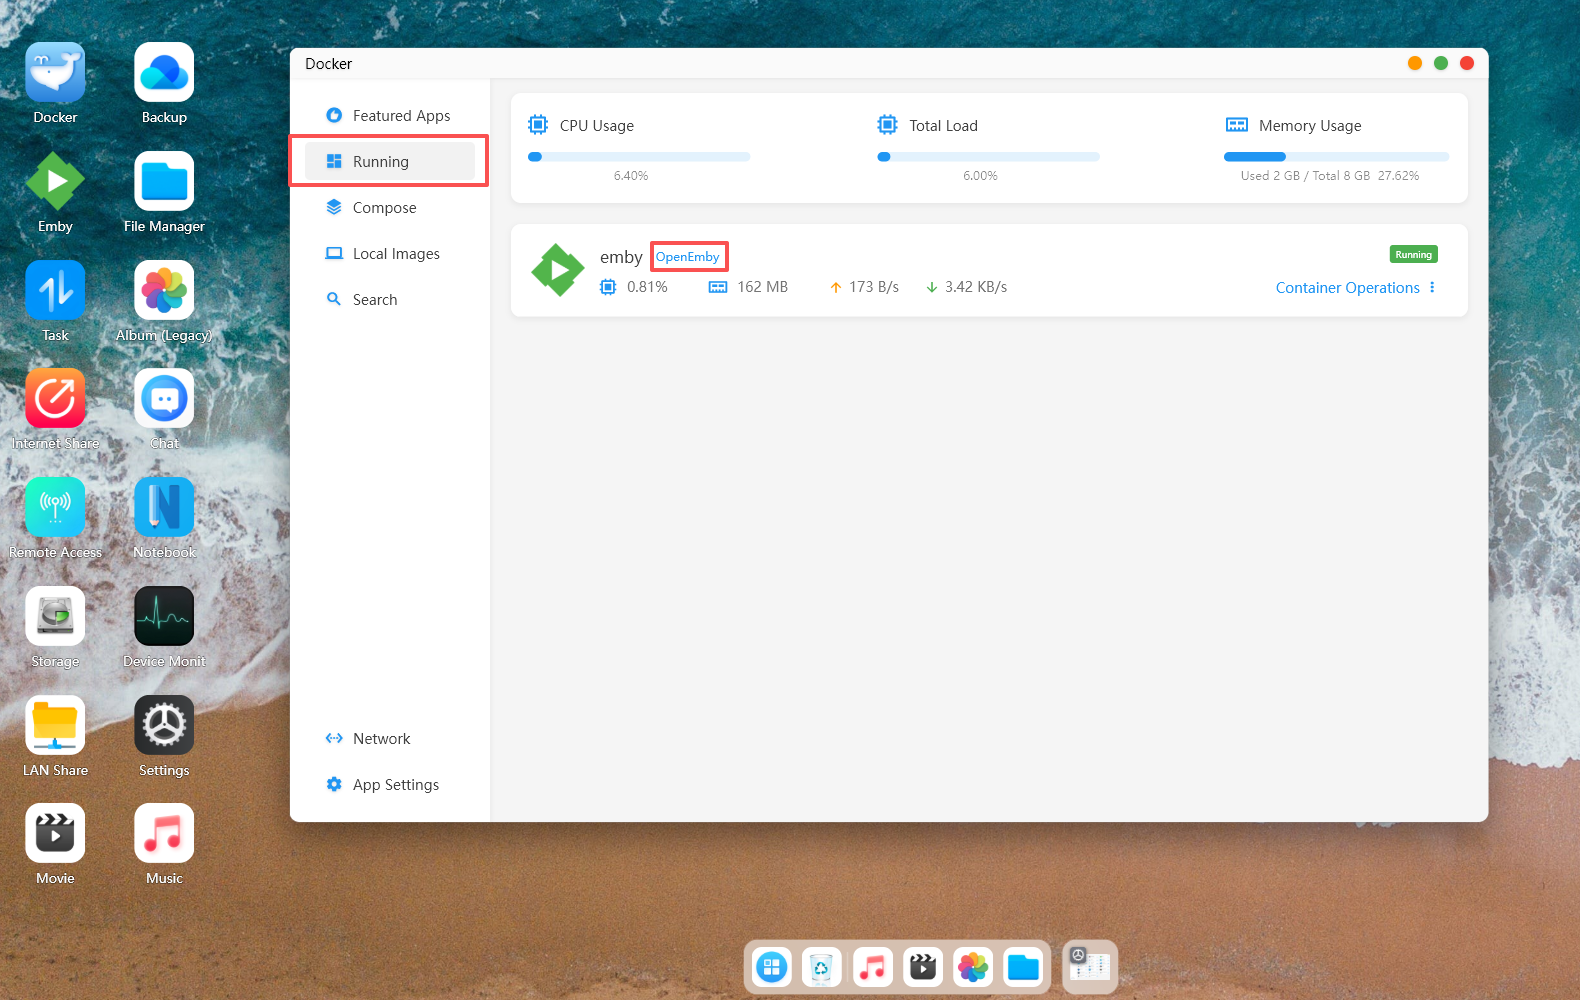
3.After clicking to open Emby, you will be automatically redirected to the web page. Select your preferred display language and click "Next".
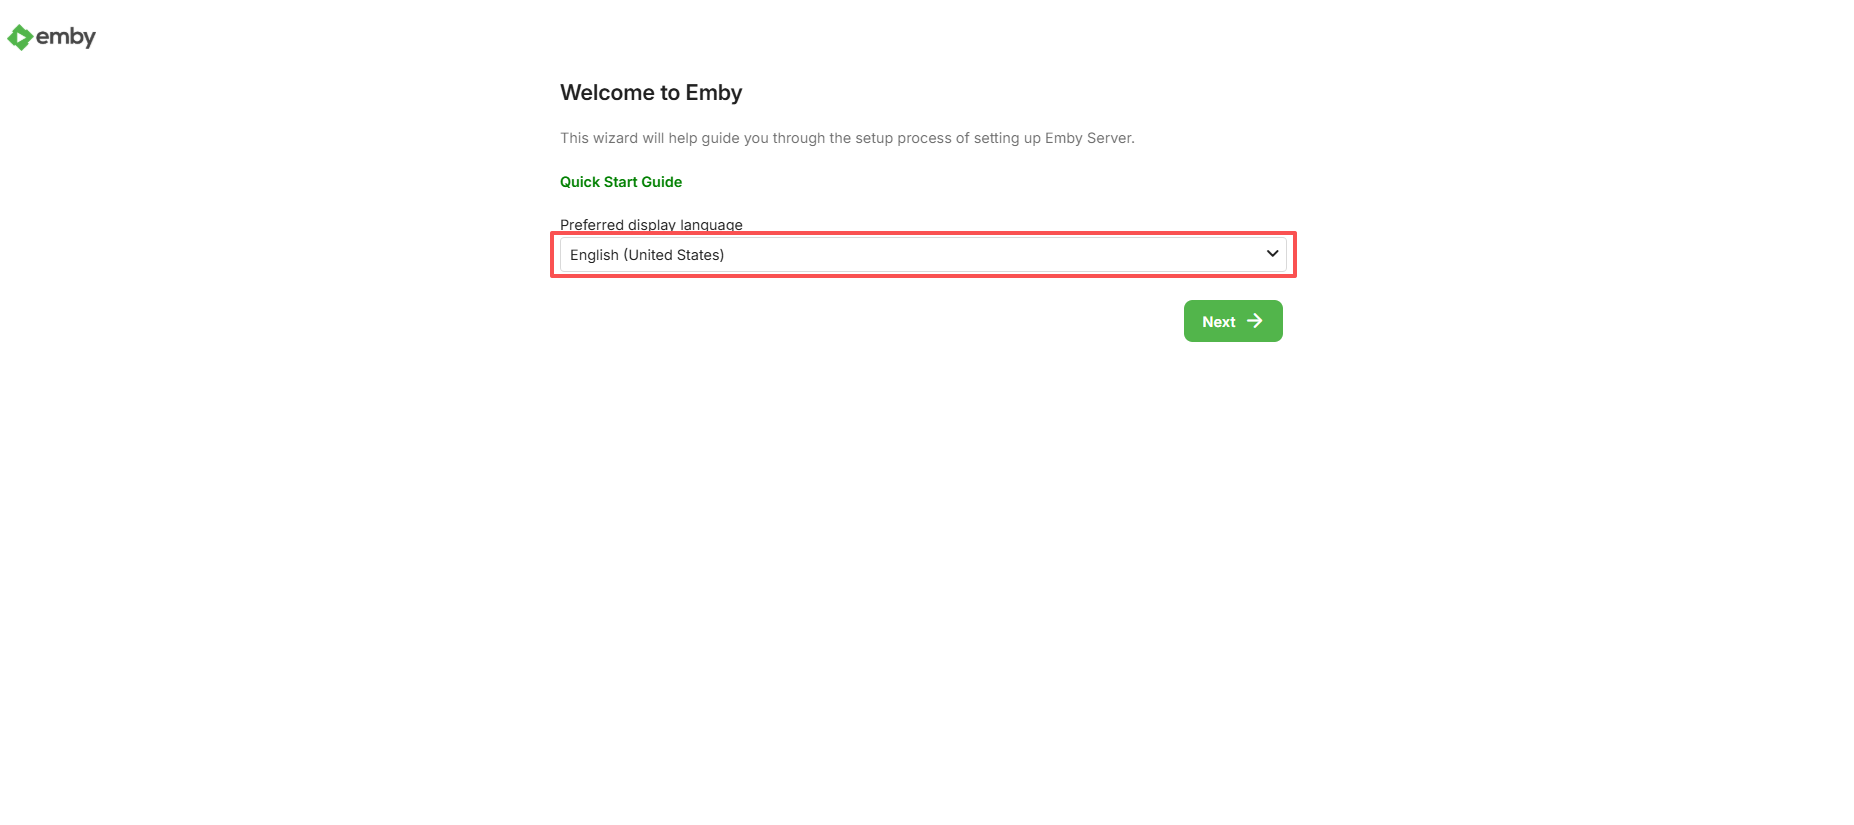
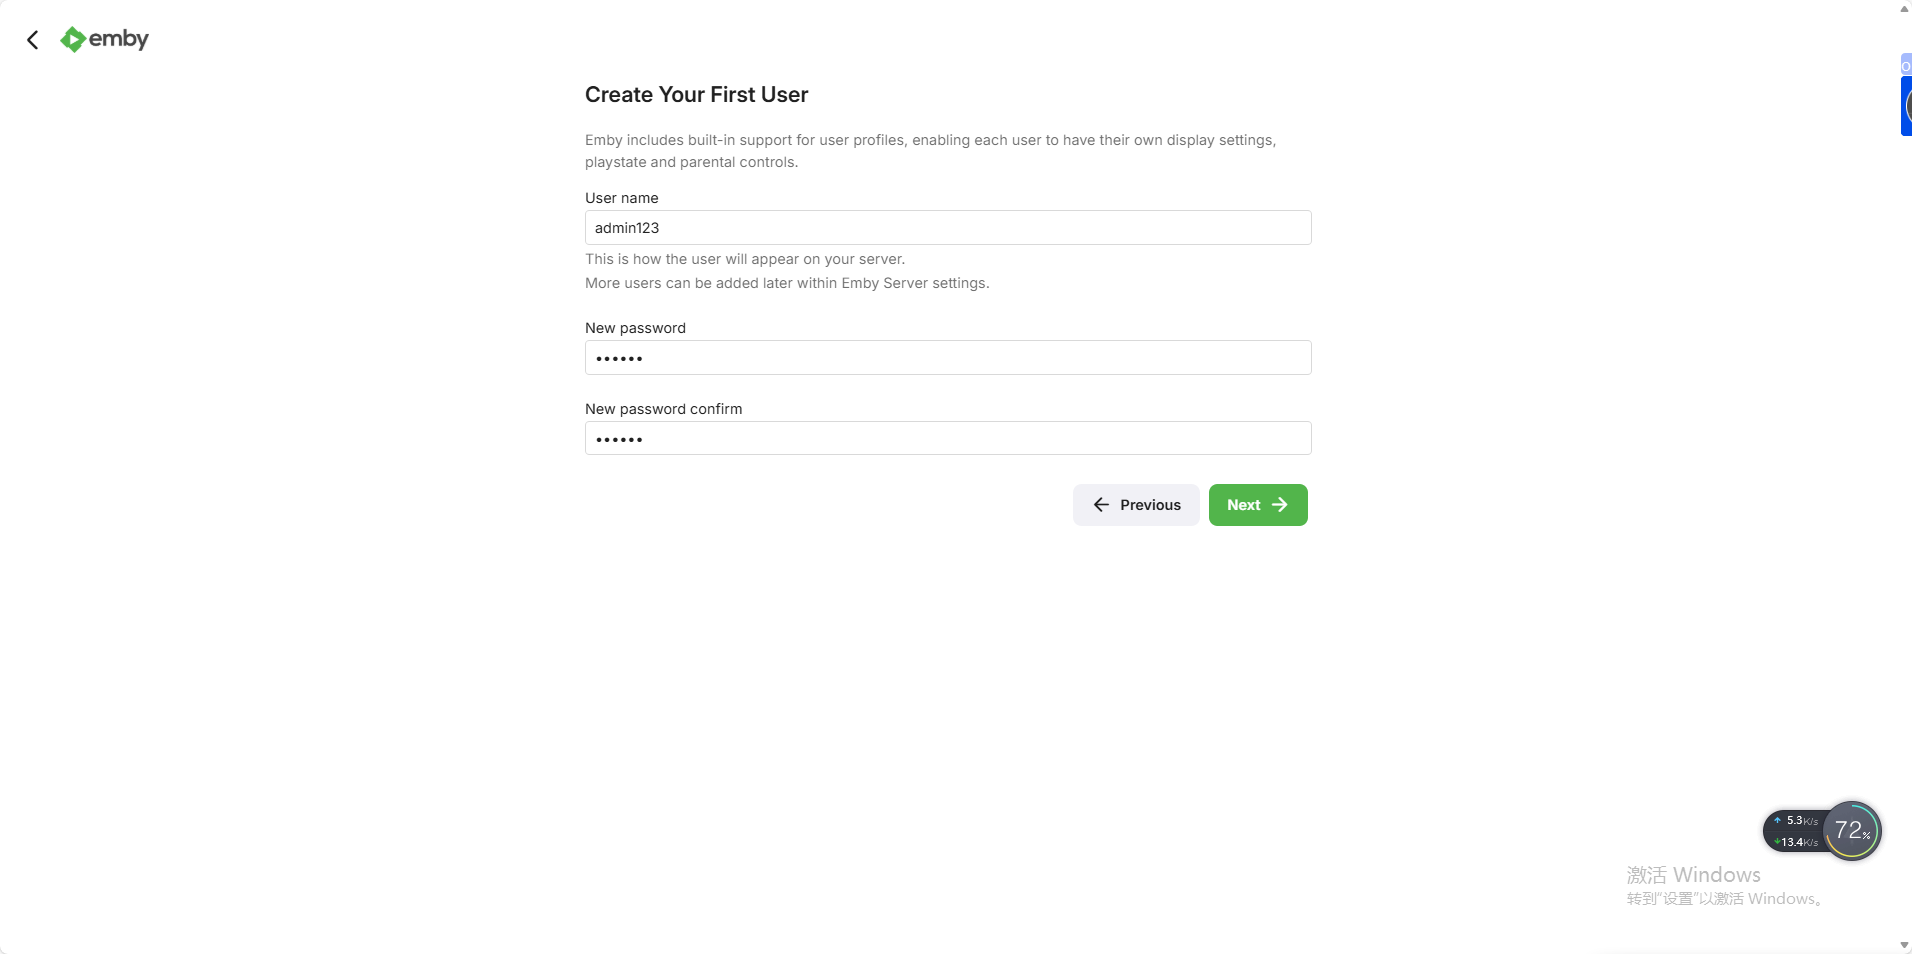
4.Create the first user (administrator), set up the username and password, and click "Next".
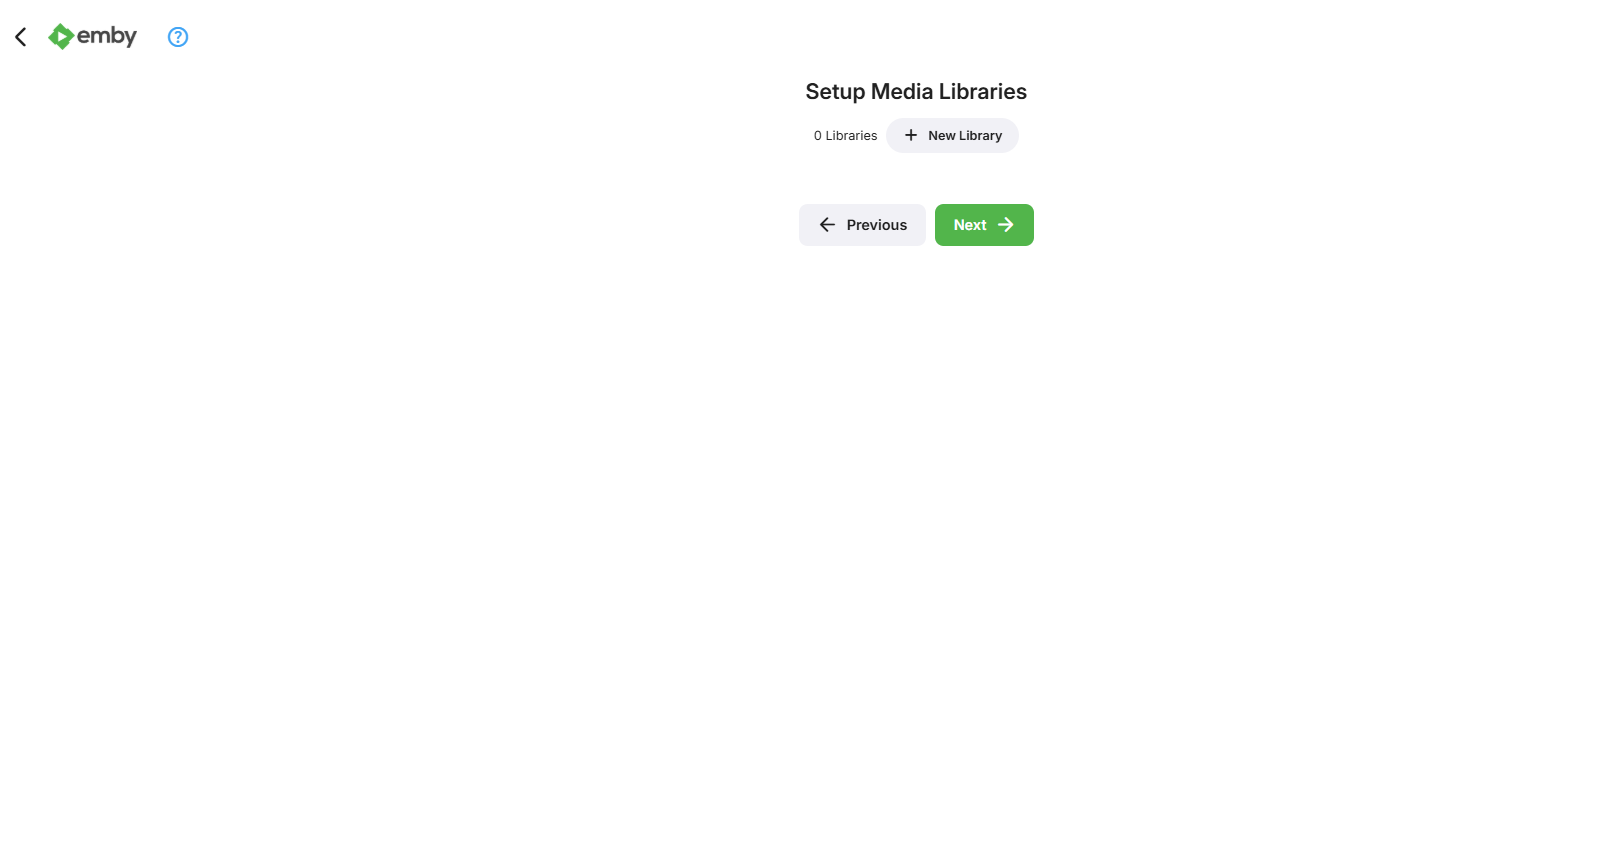
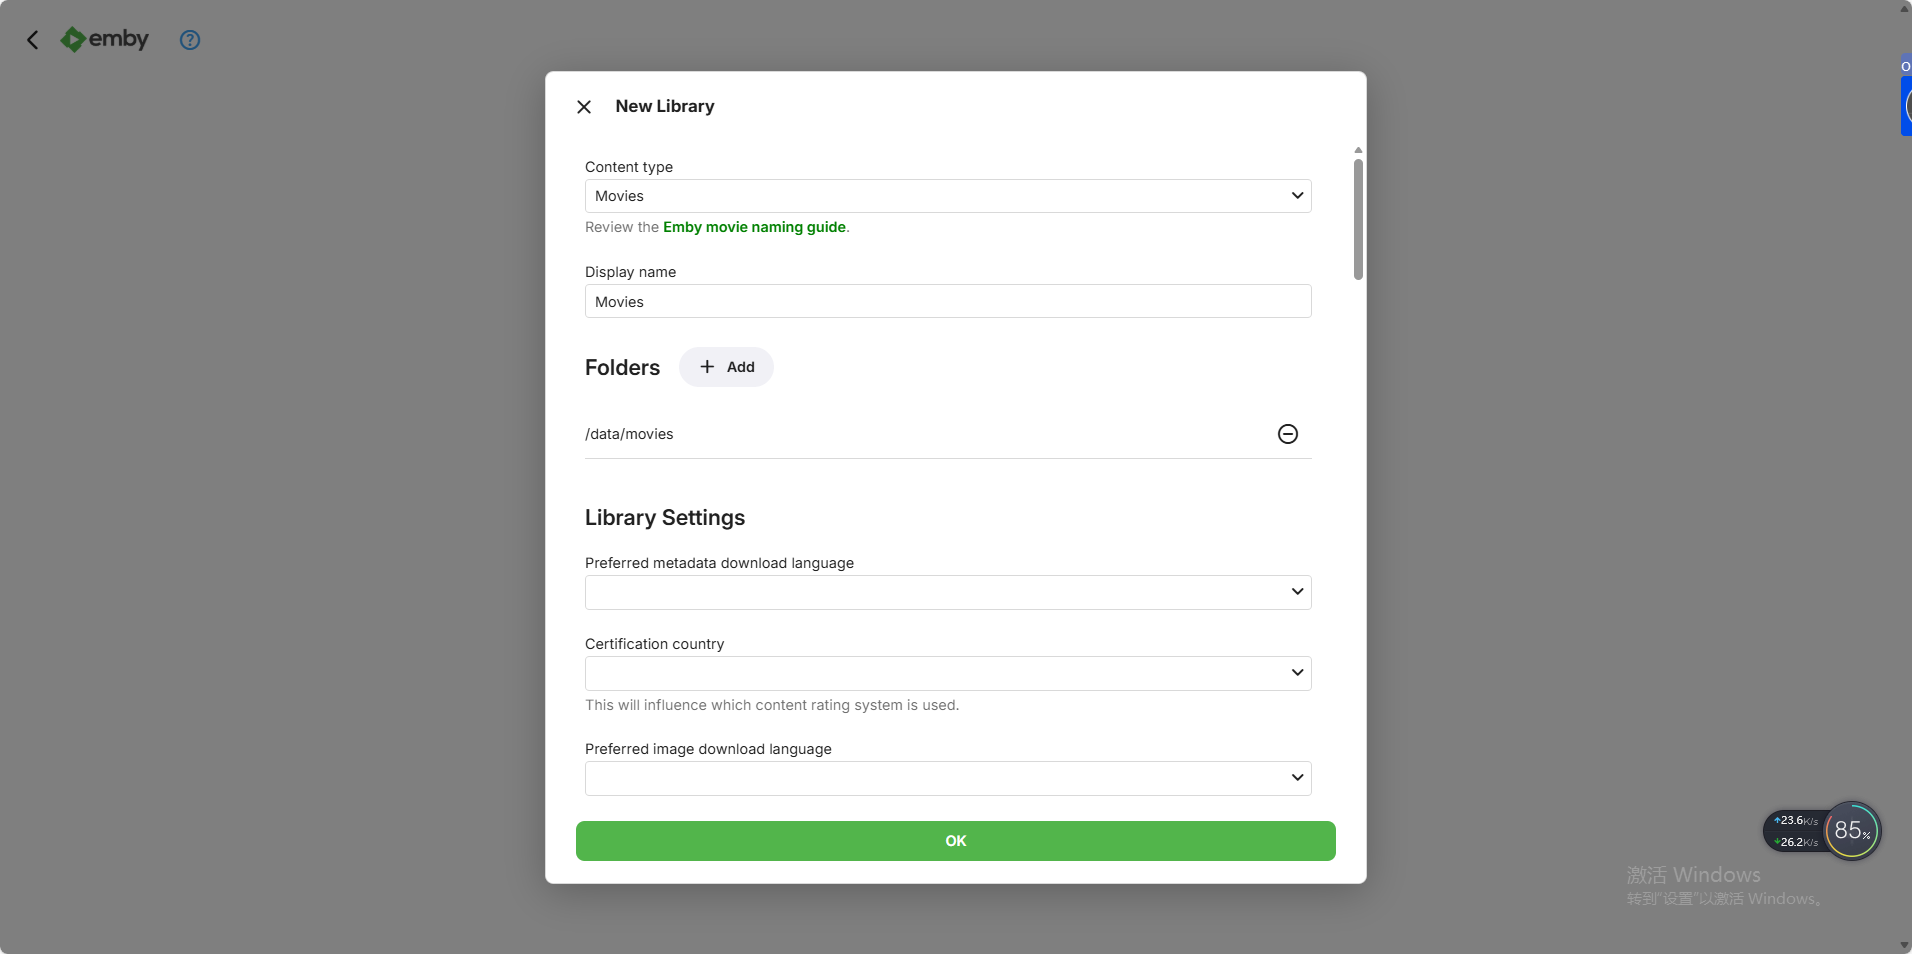
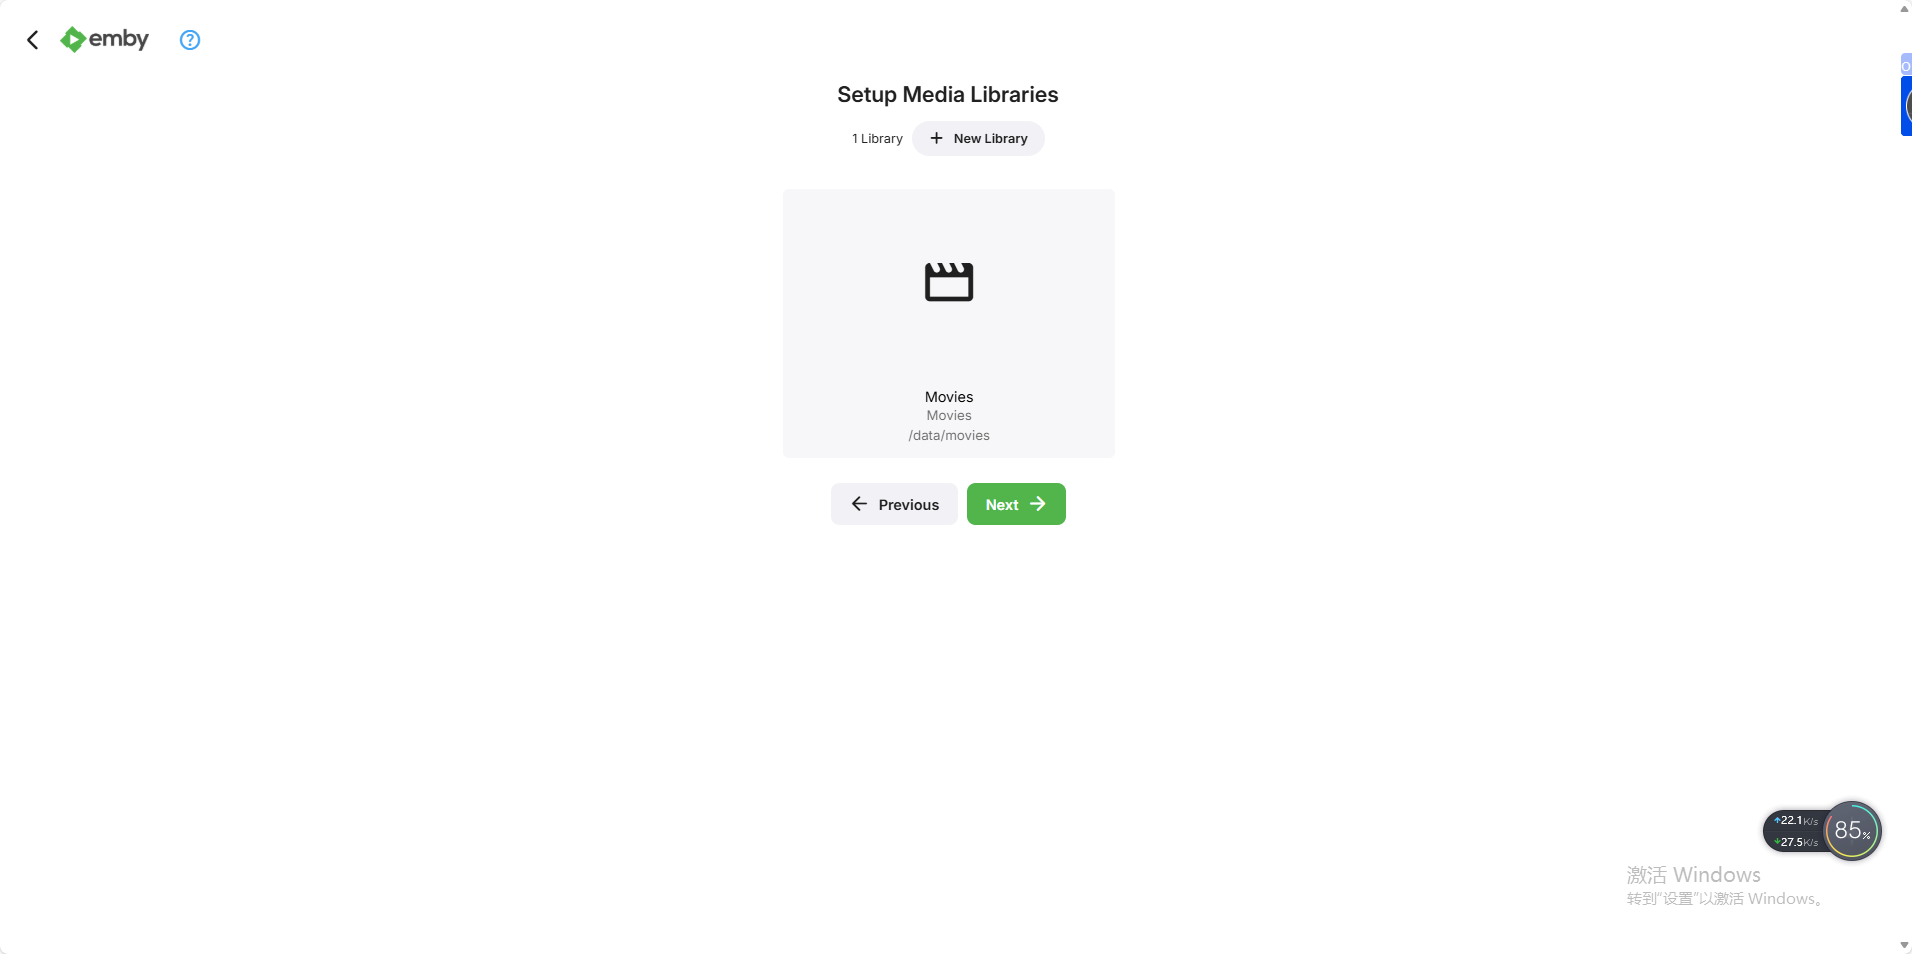
5.When adding a media library, bind the video folder on your NAS.
If your optical modem and router support UPnP and you need to access Emby from outside your home network, you can choose to enable the UPnP feature. Personally, We recommend not enabling it unless you frequently travel and truly need remote access.
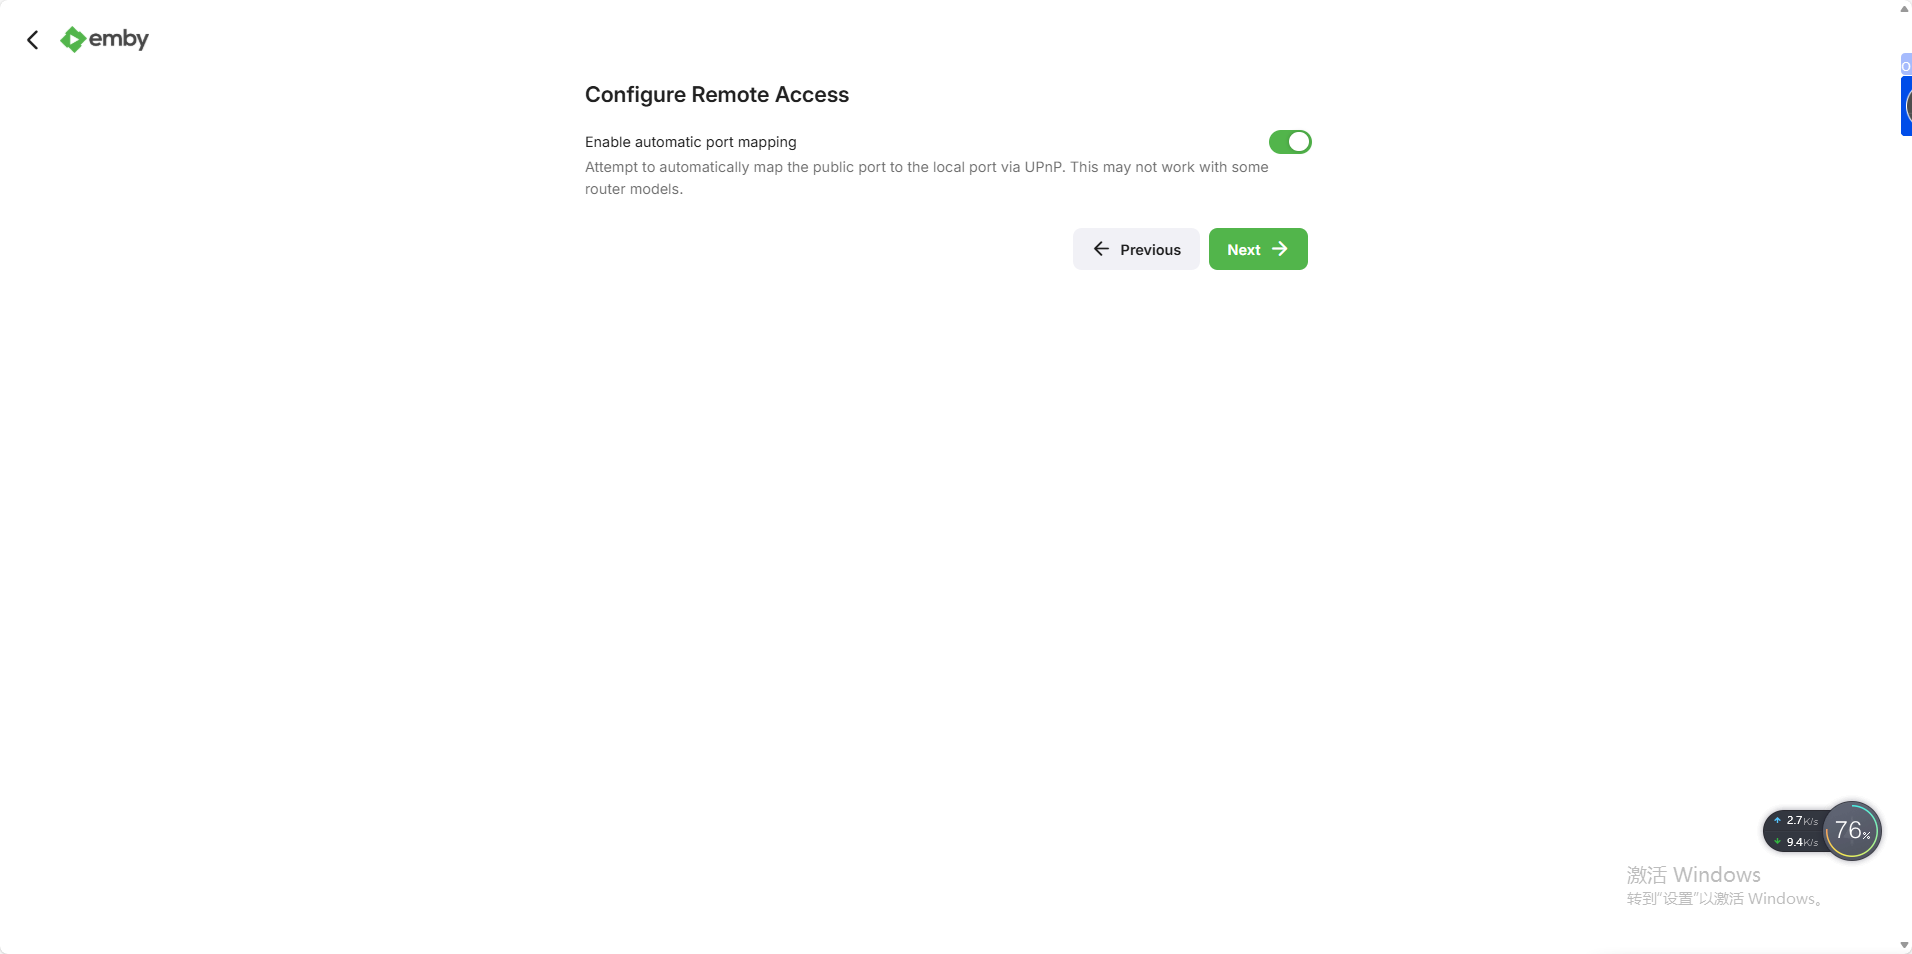
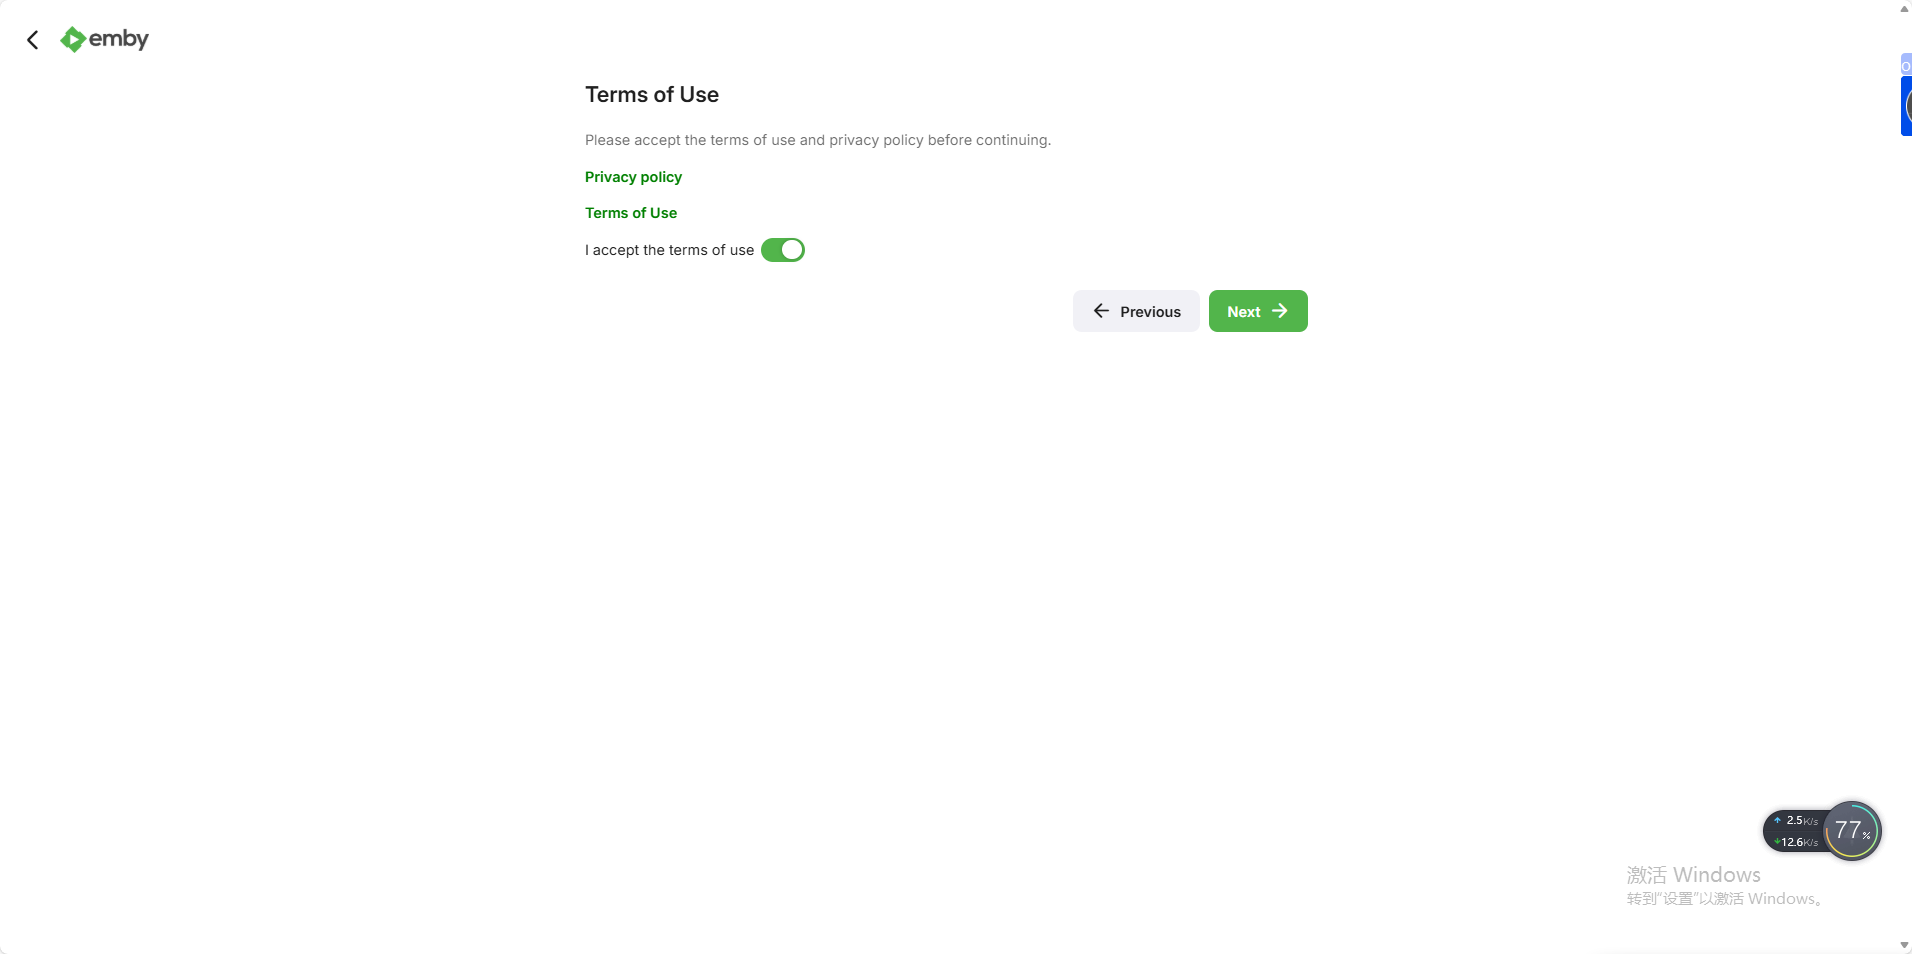
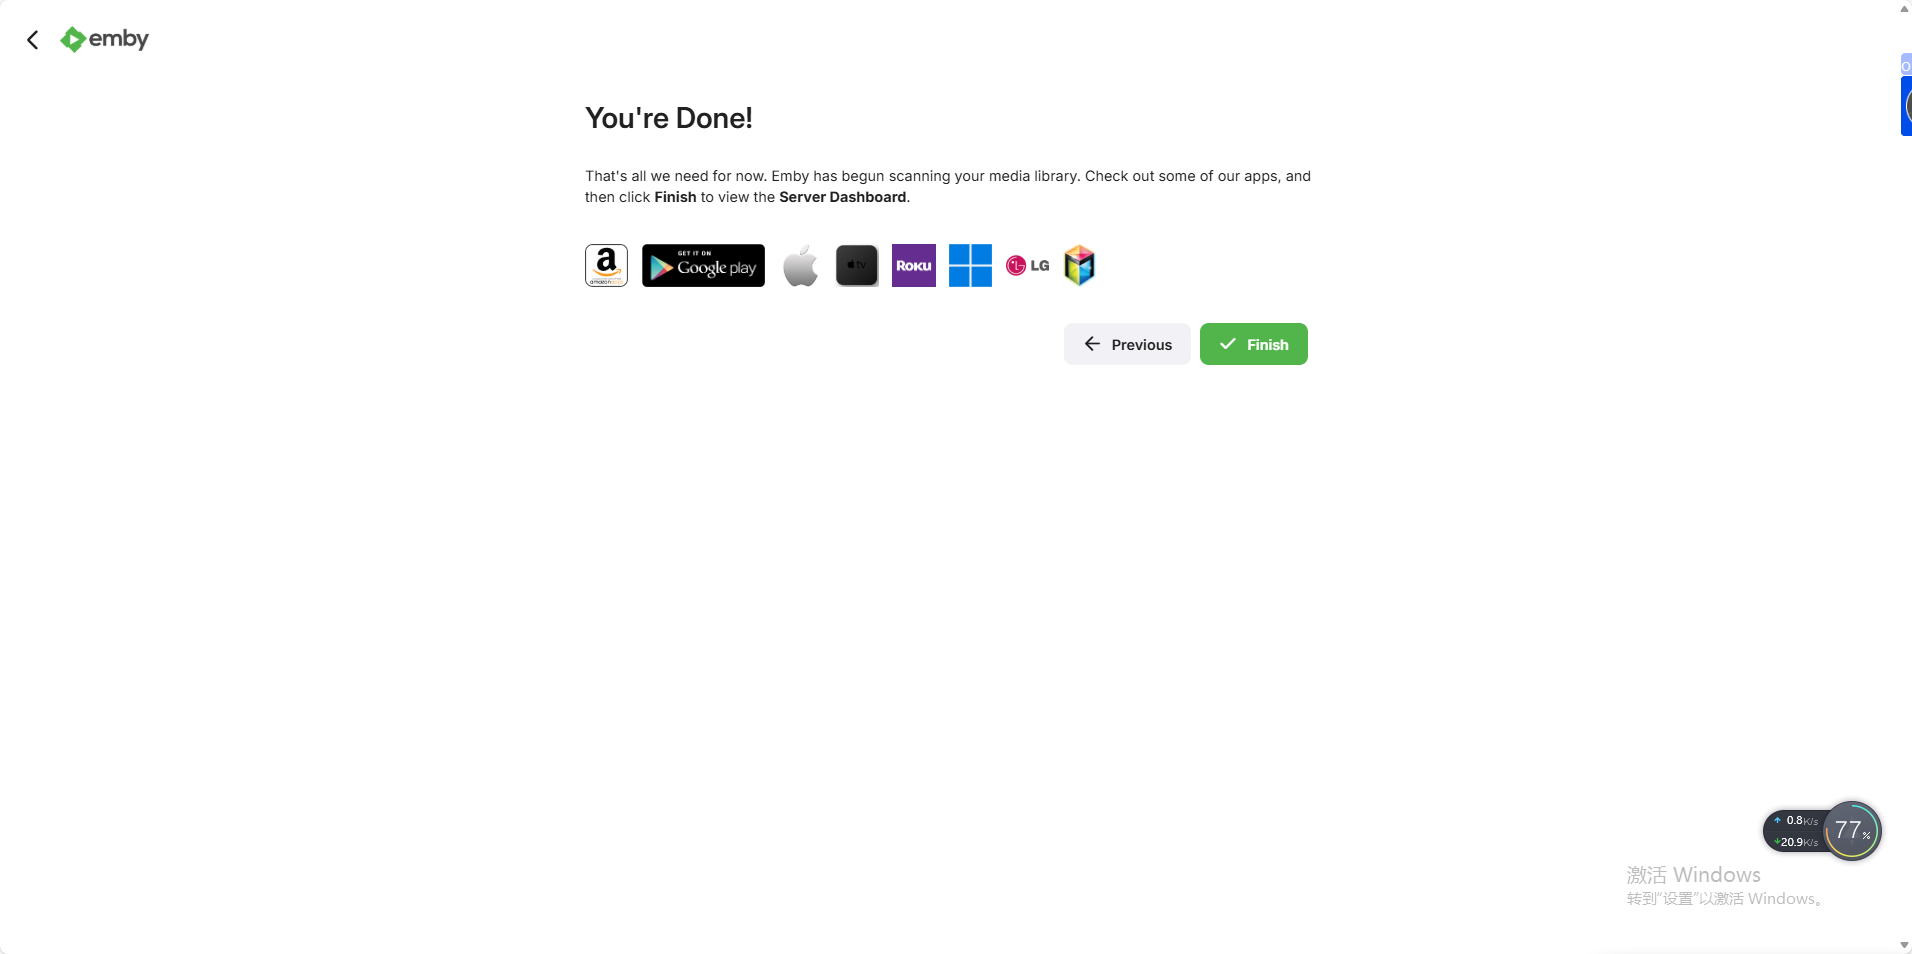
6.Finally, agree to the license terms to complete the initial setup of Emby.
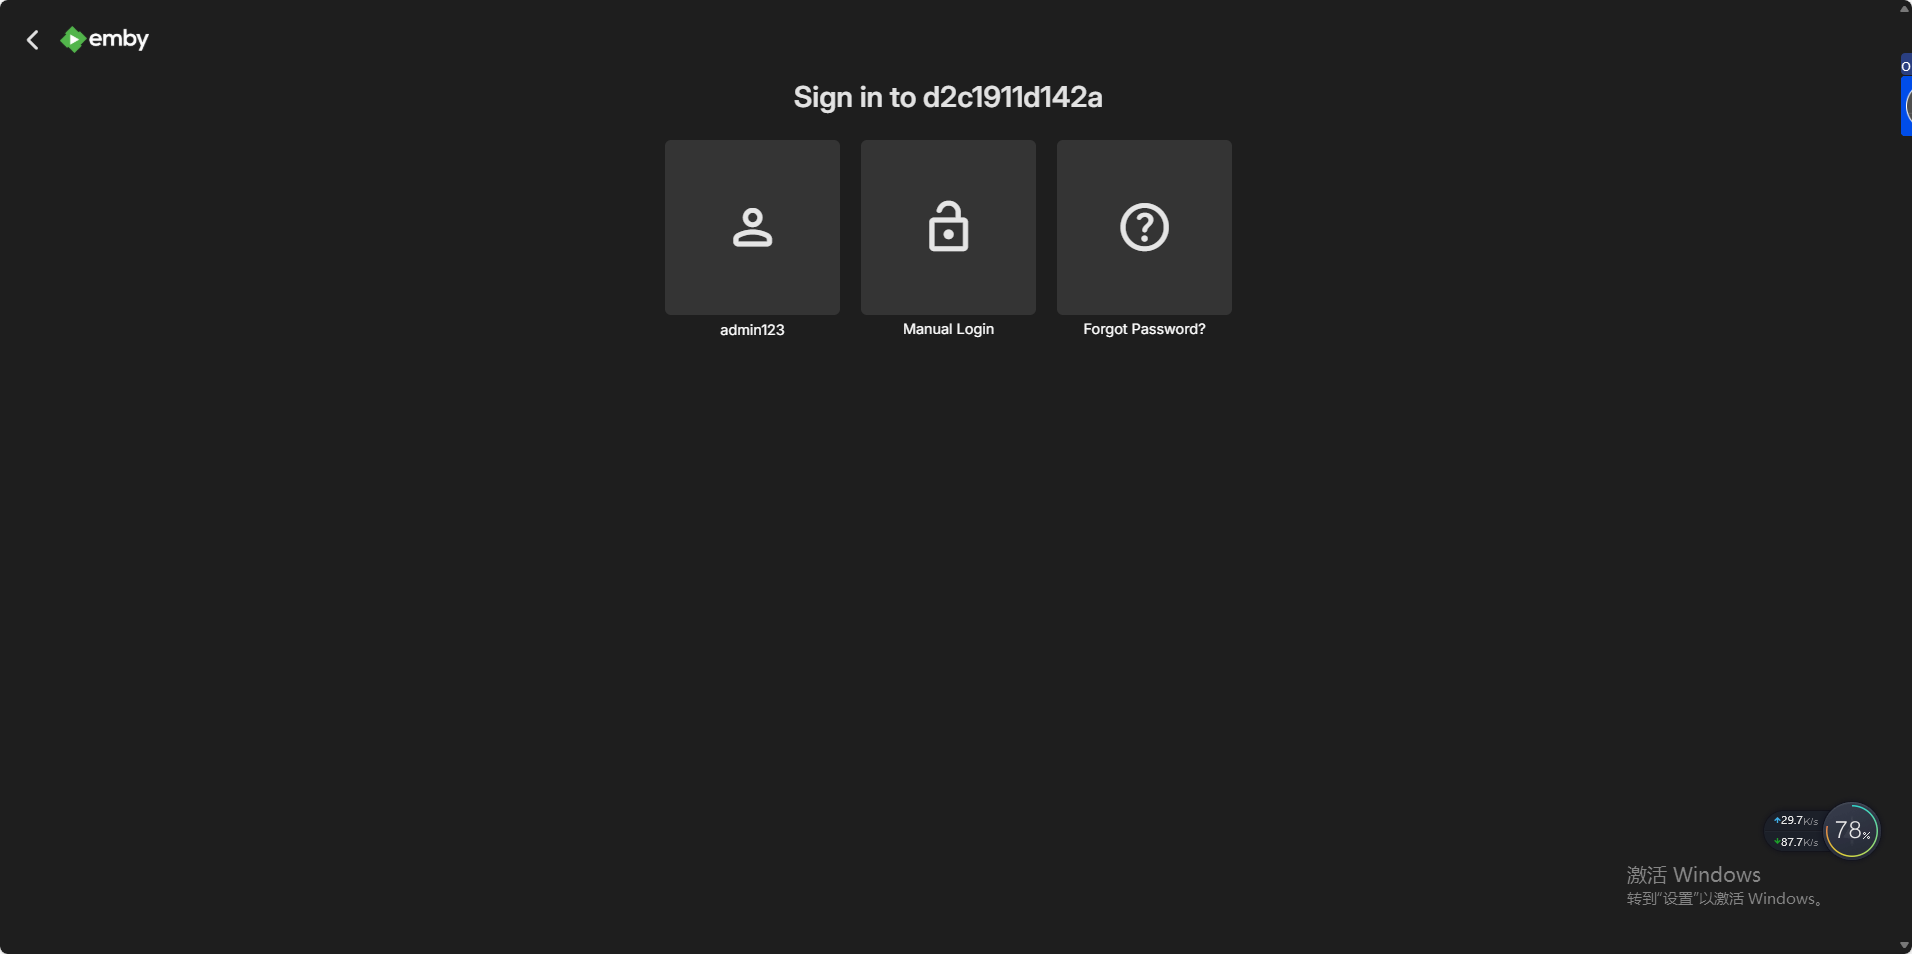
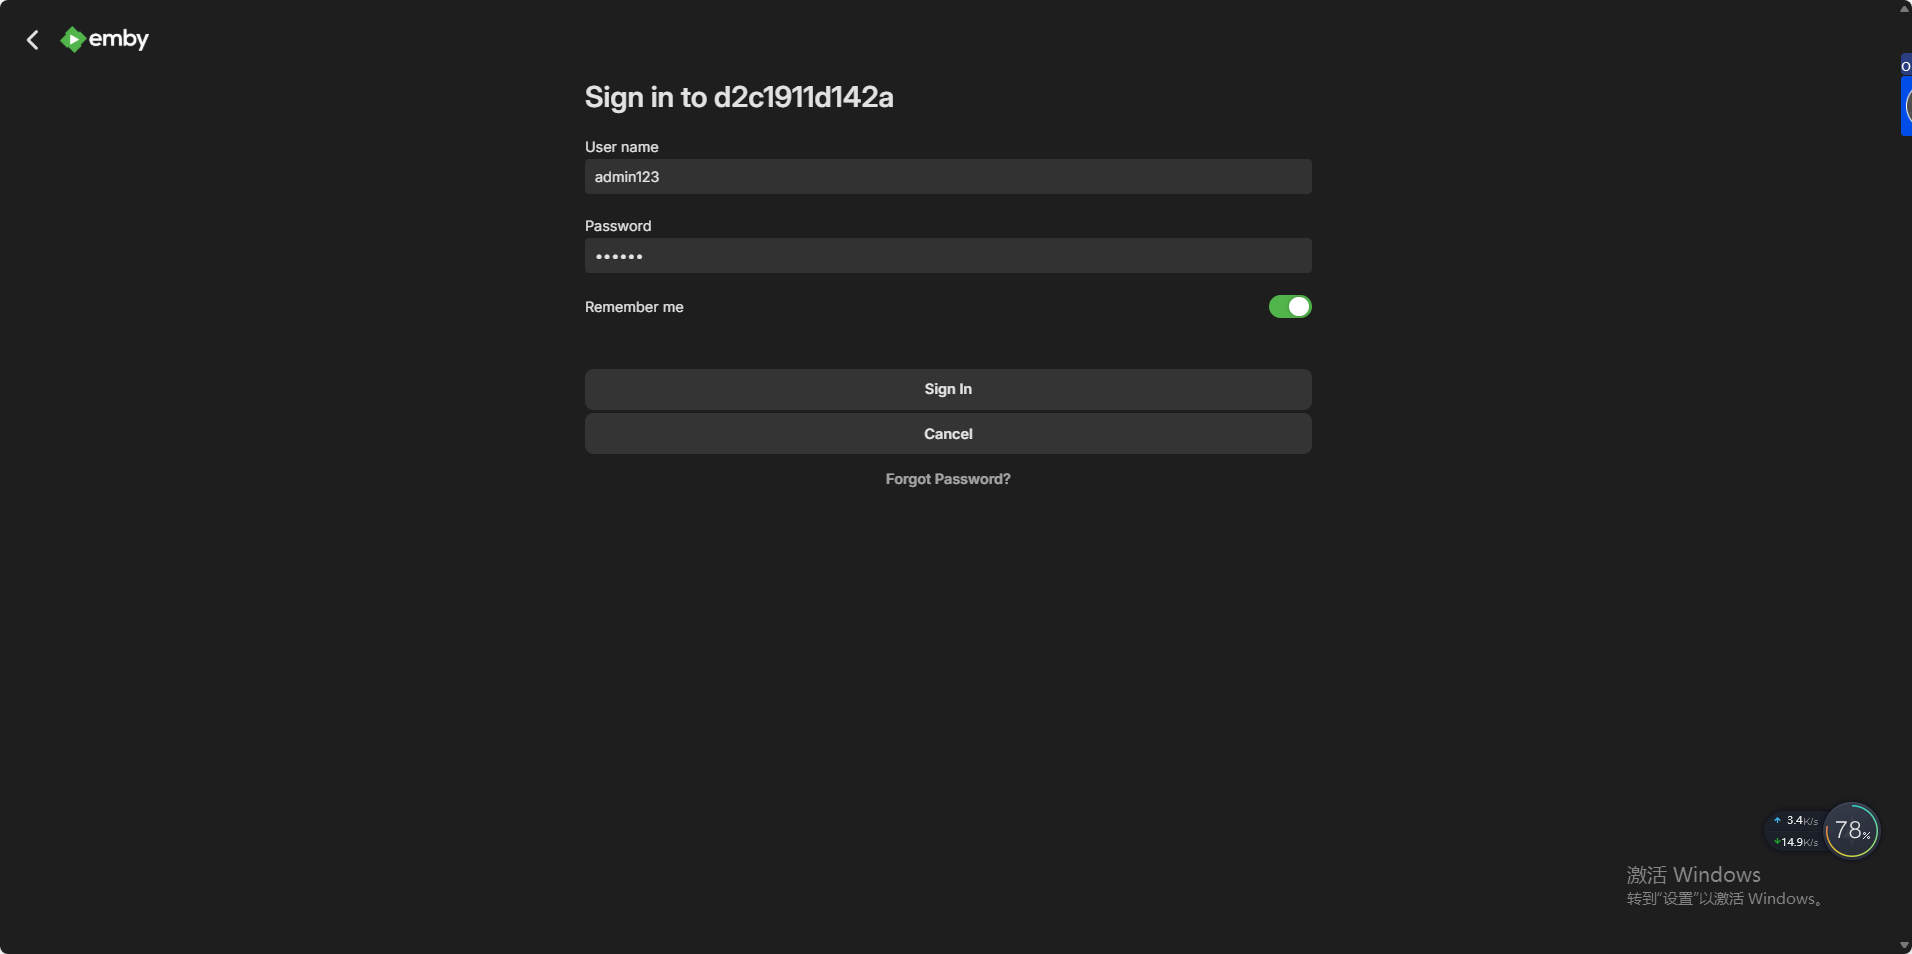
7.Enter your username and password to complete verification and access the Emby home page.
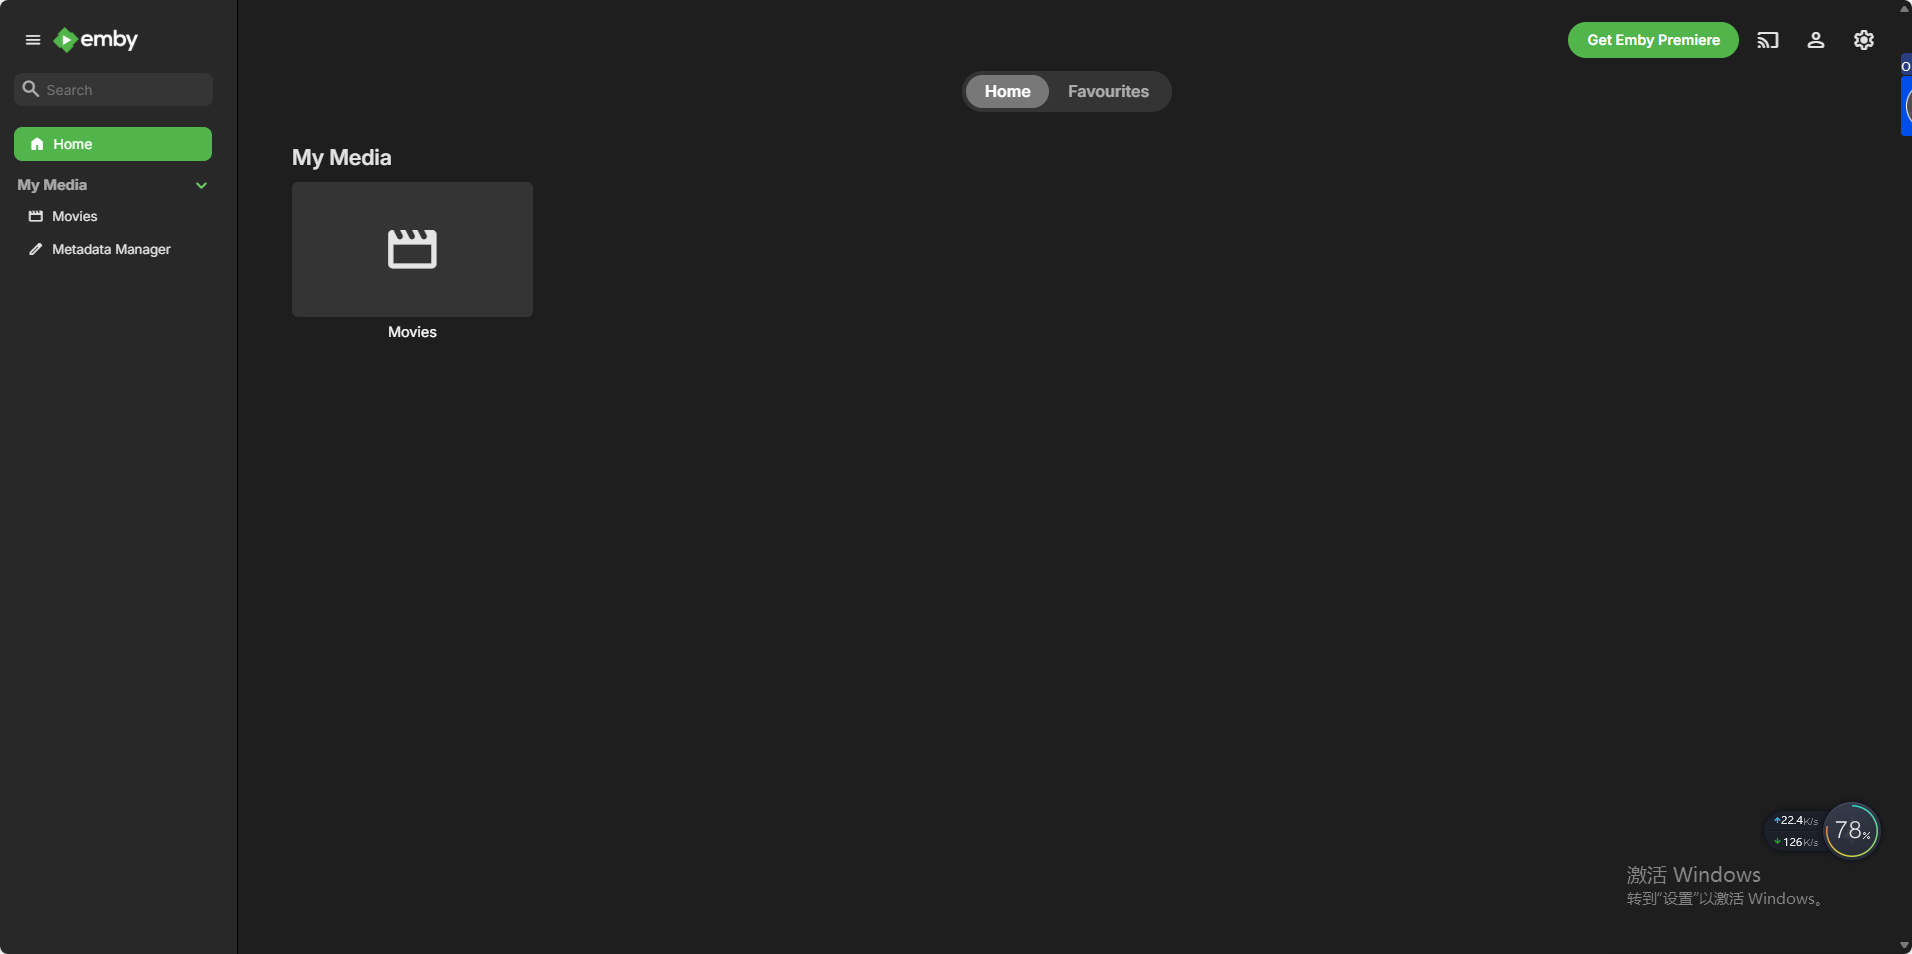
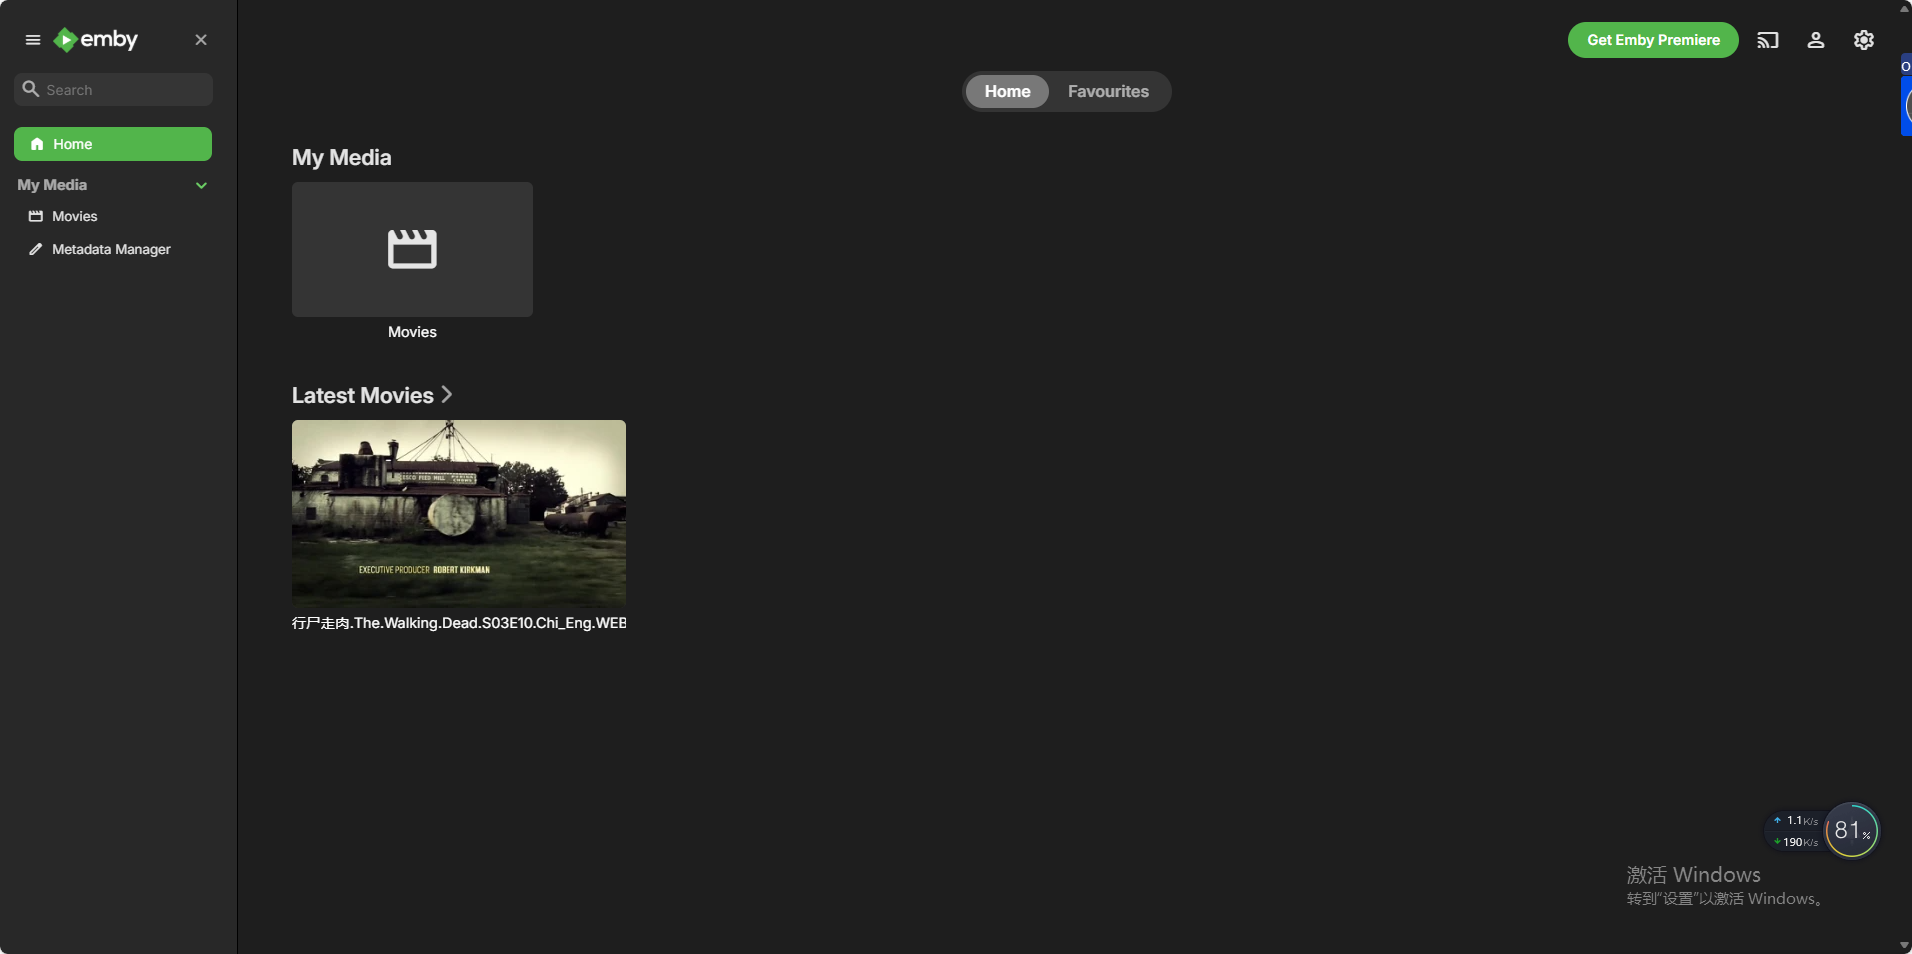
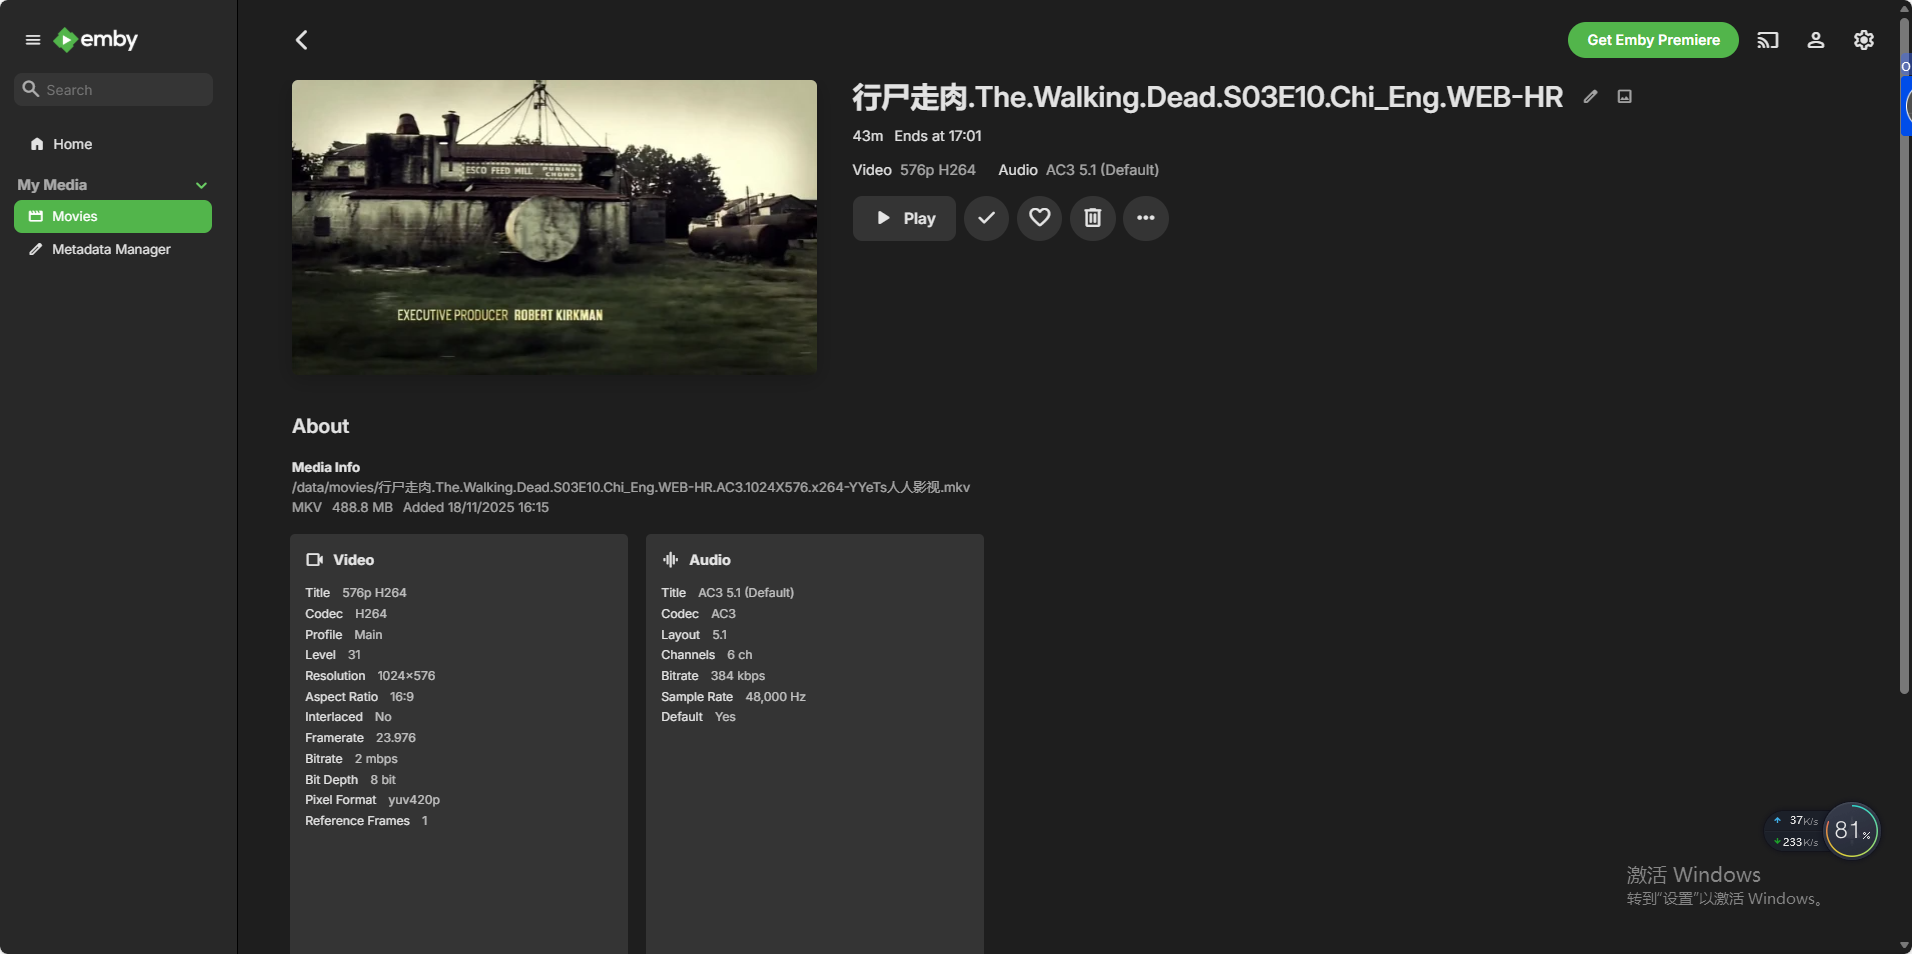
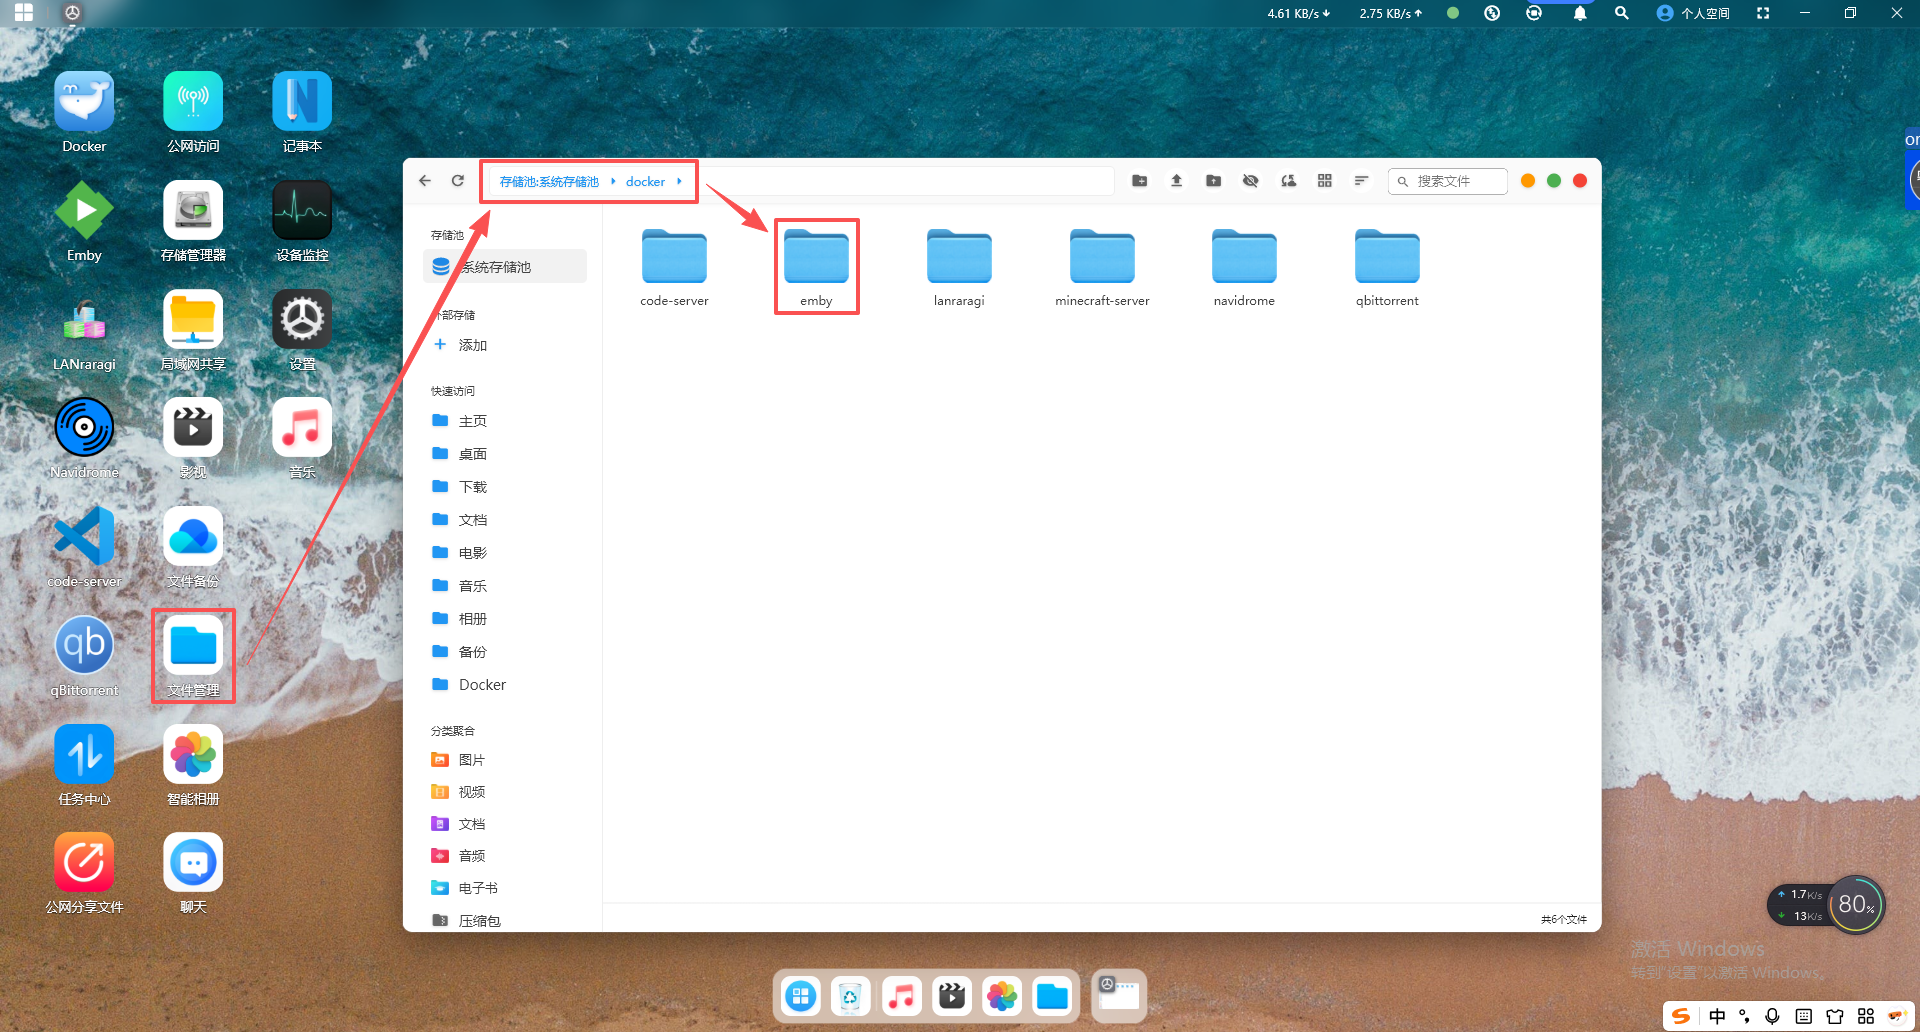
After entering the directory, select "movies" and place your video files into this folder. Then return to the Emby home page, and you will see the newly added movies.